
Light Mnemonics

A large-scale installation and exploration of connection and emergent behavior through motion and communion with its viewers. The project was inspired by personal experimental music notation sketches, kinesthetics and body movement patterns, and the liminal spaces we traverse individually and collectively. It is a response to the rhythmic nature of human visual perception as its light sequences shift in response to environmental changes. The installation's elevation increases with each row as the light tubes cascade through the exhibition space.
- Yuxiang Cheng
- : Mechatronics, Structural Design, Fabrication, Planning, Assembly, Documentation
- Meggie Weinheimer
- : Concept, Software, Light Design, Assembly
Angela Li and David Yang helped with the assembly.
Planning
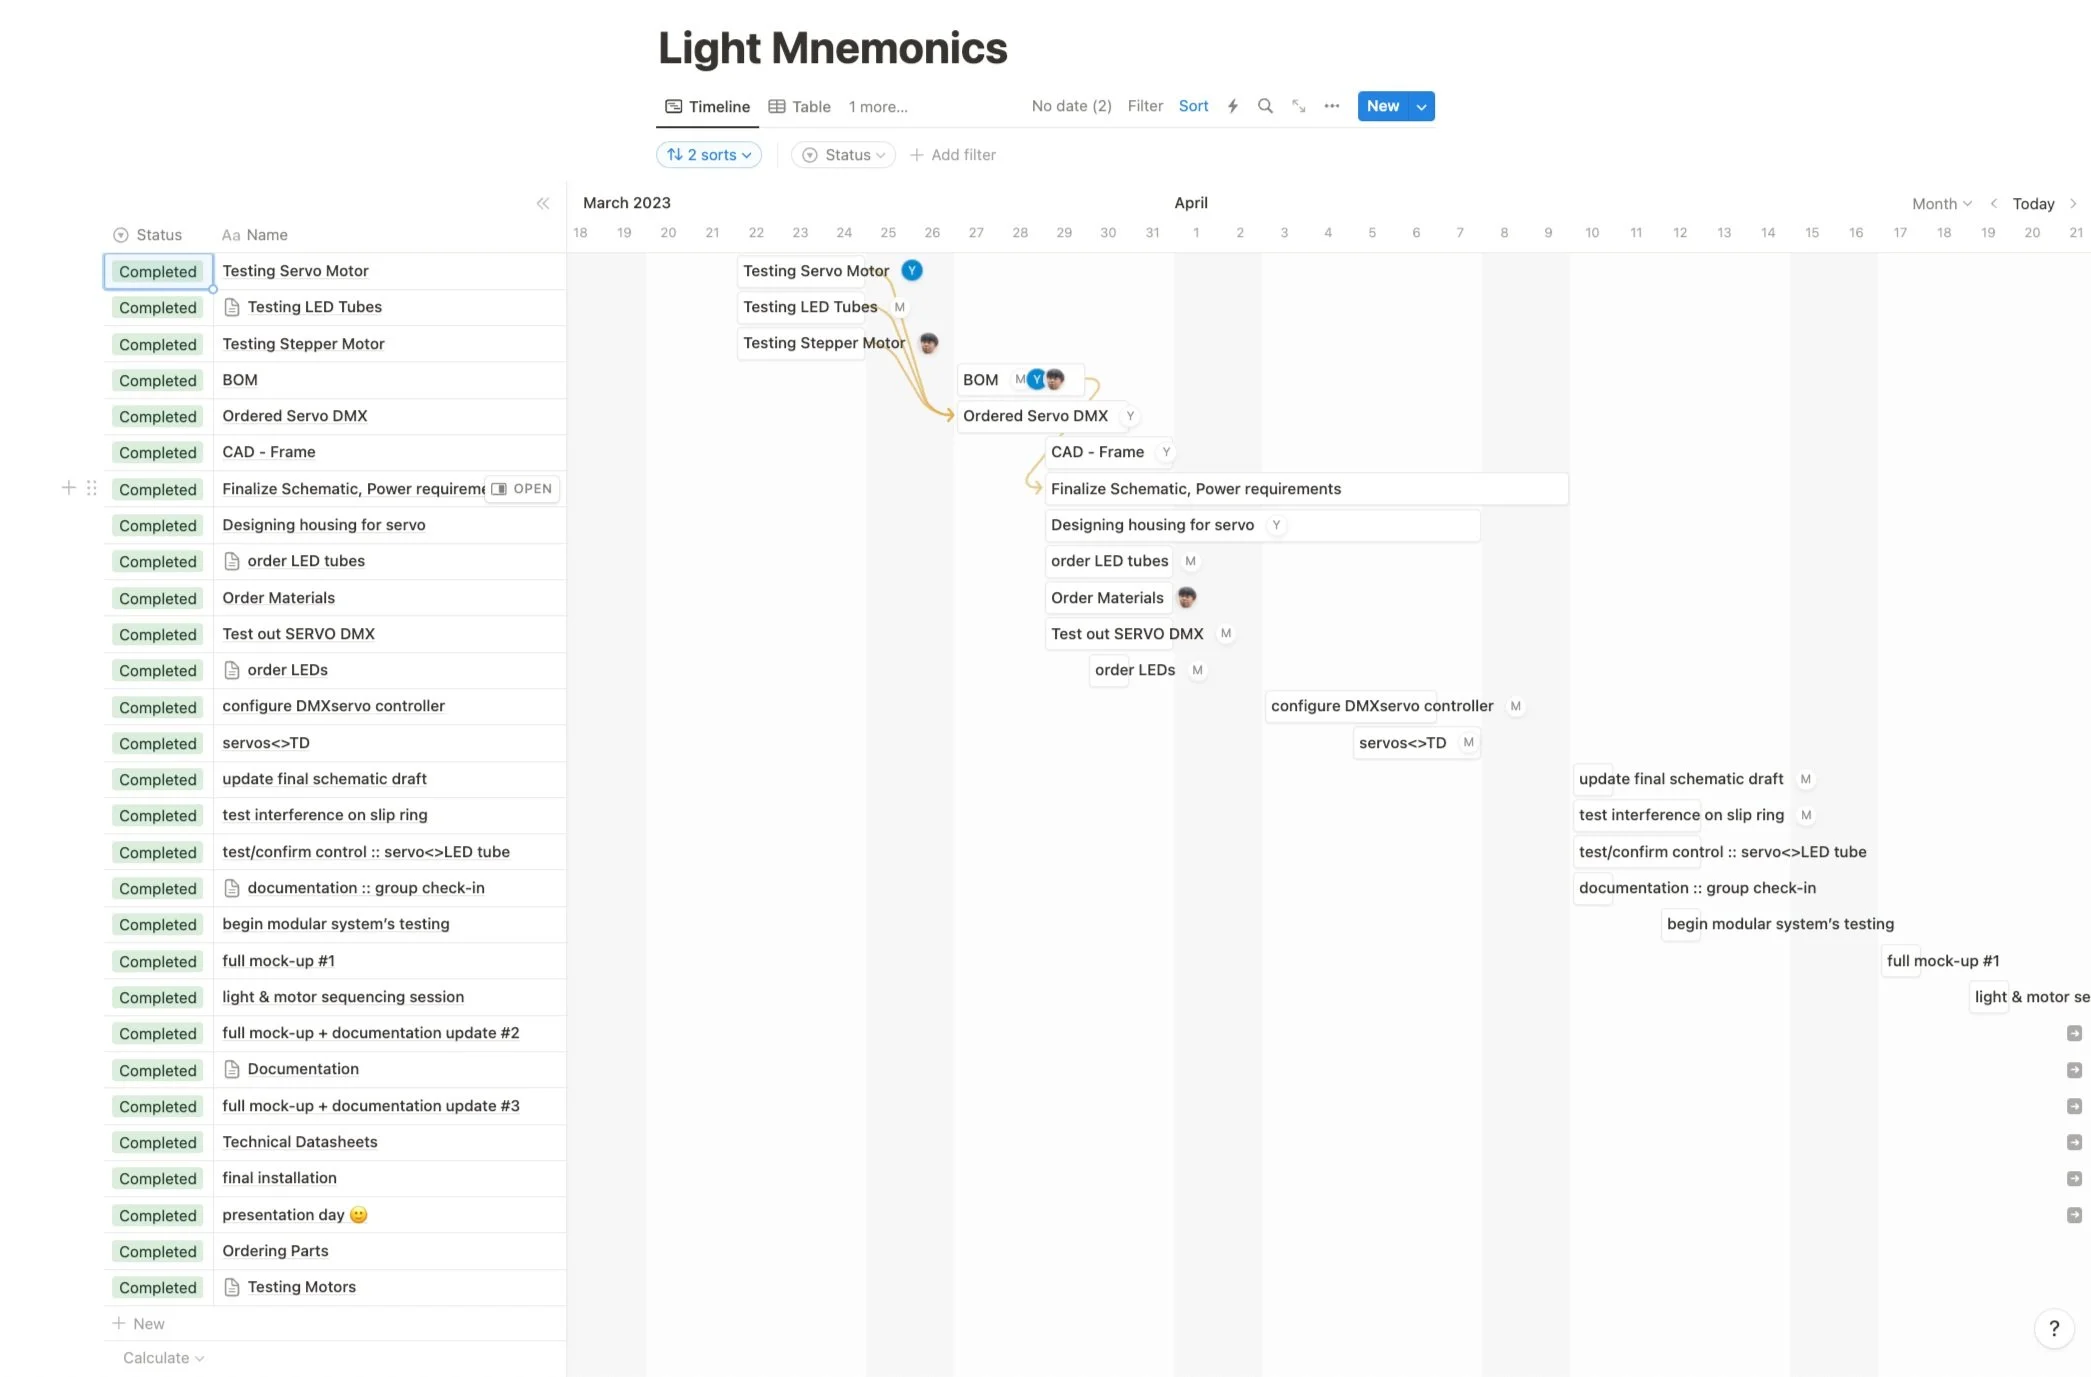
A build at this scale lives or dies by planning. I started with the BoM, ordered parts as the design firmed up, and set the whole team’s timeline with a Gantt chart.
Structure
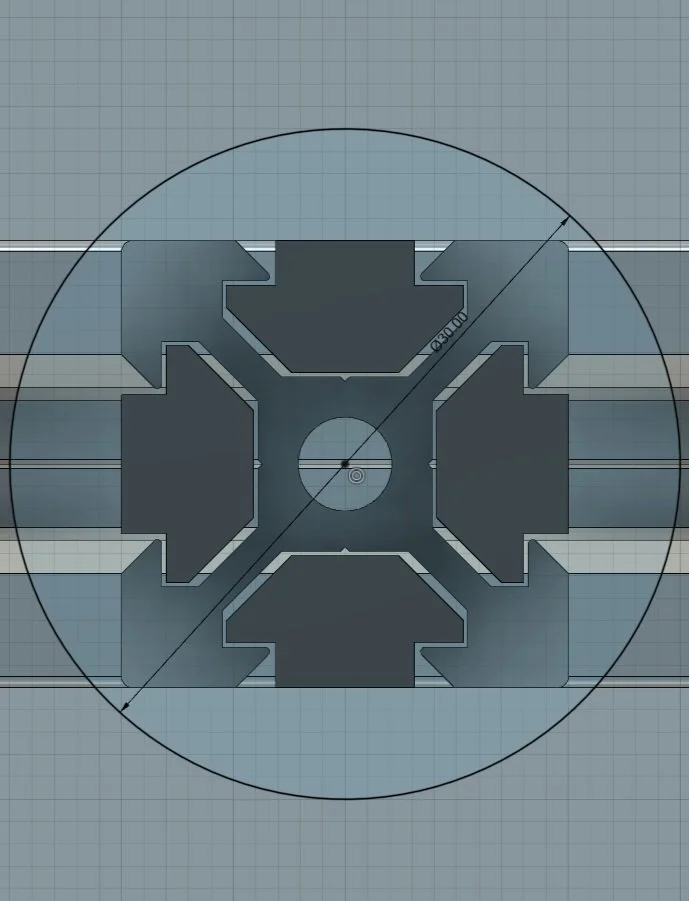
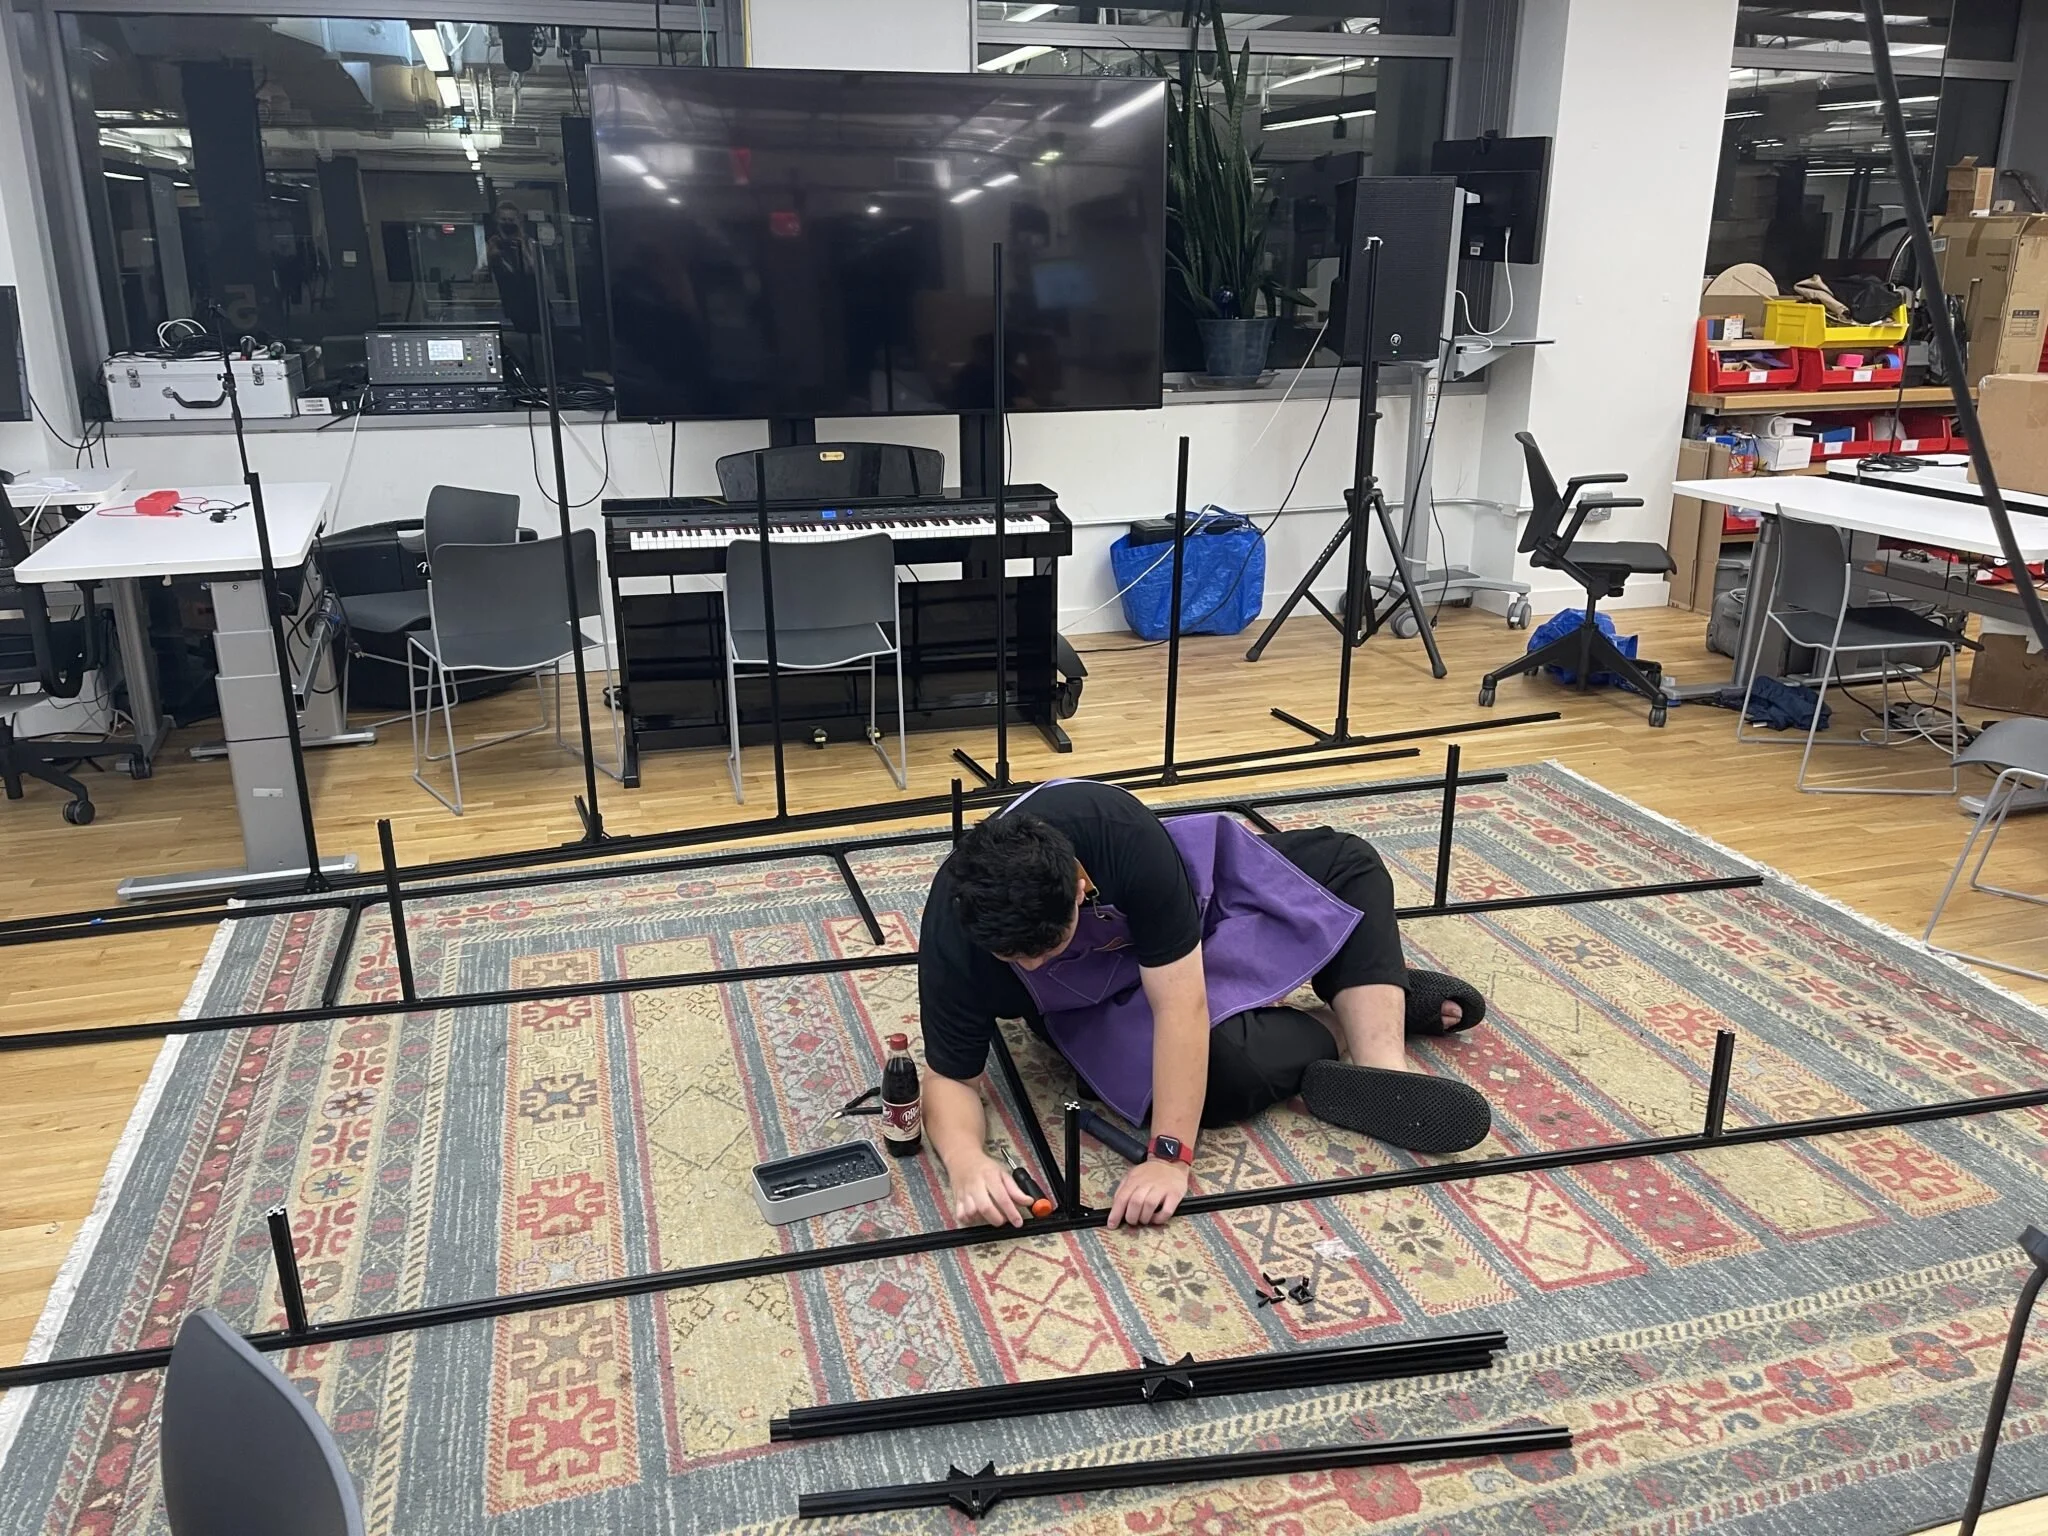
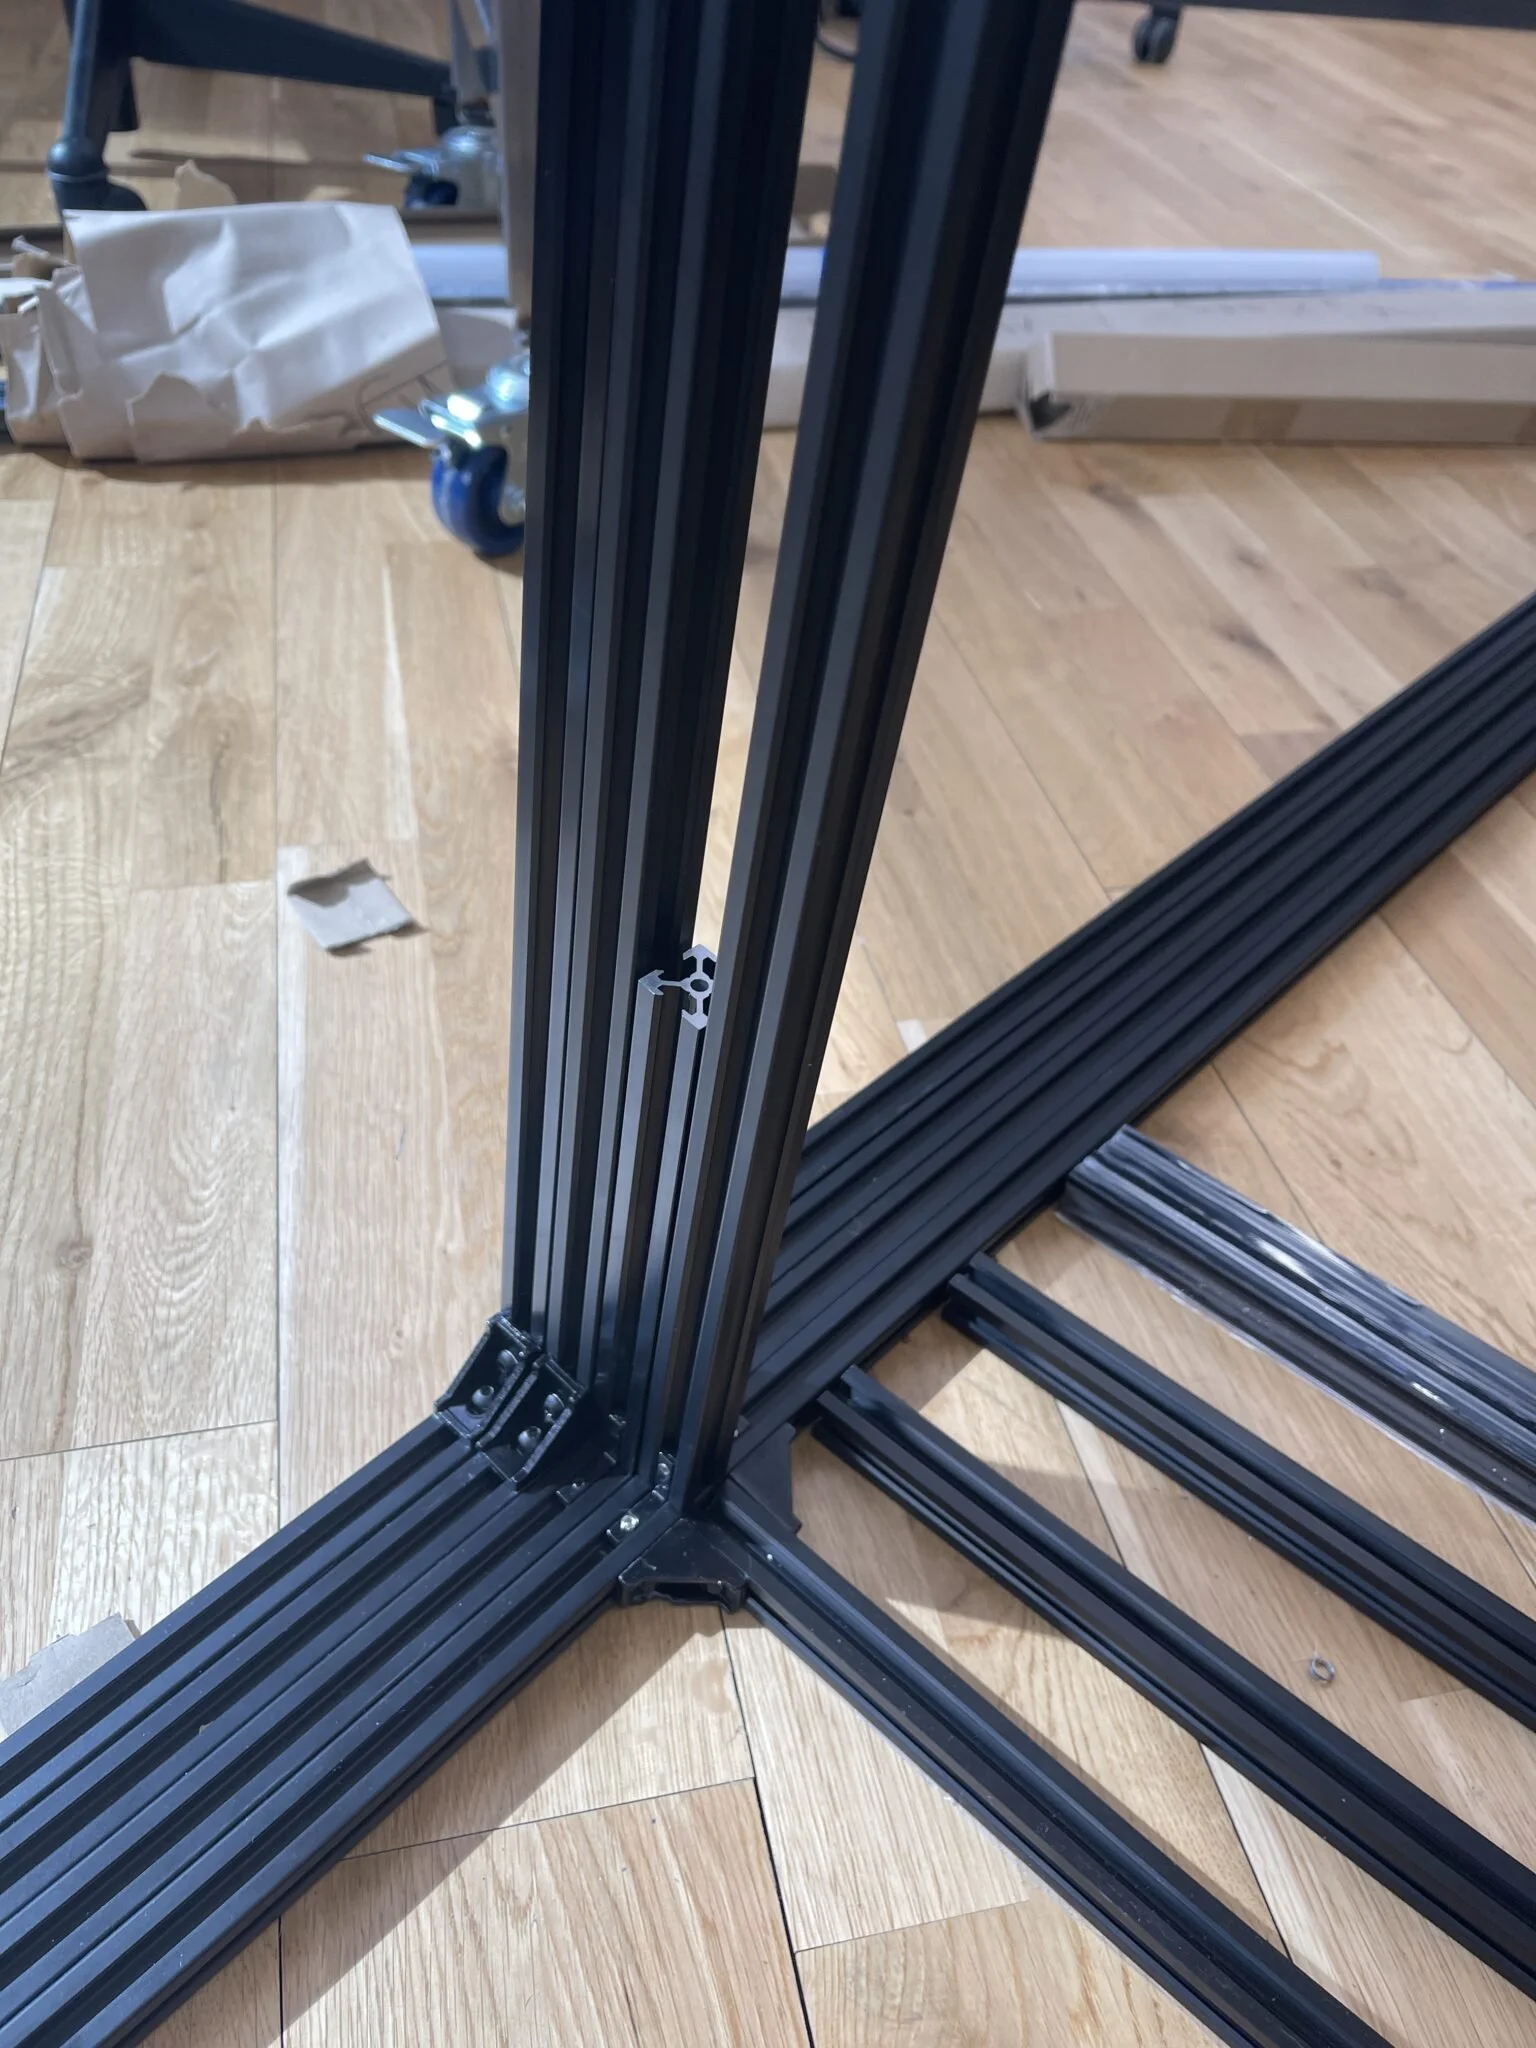
The frame came first — per our concept, it would occupy an entire room. At that scale, aluminum extrusion is the natural choice: cheap and convenient. I imported 3030 profiles into Fusion 360 and organized them into rows with mechanical stability in mind.
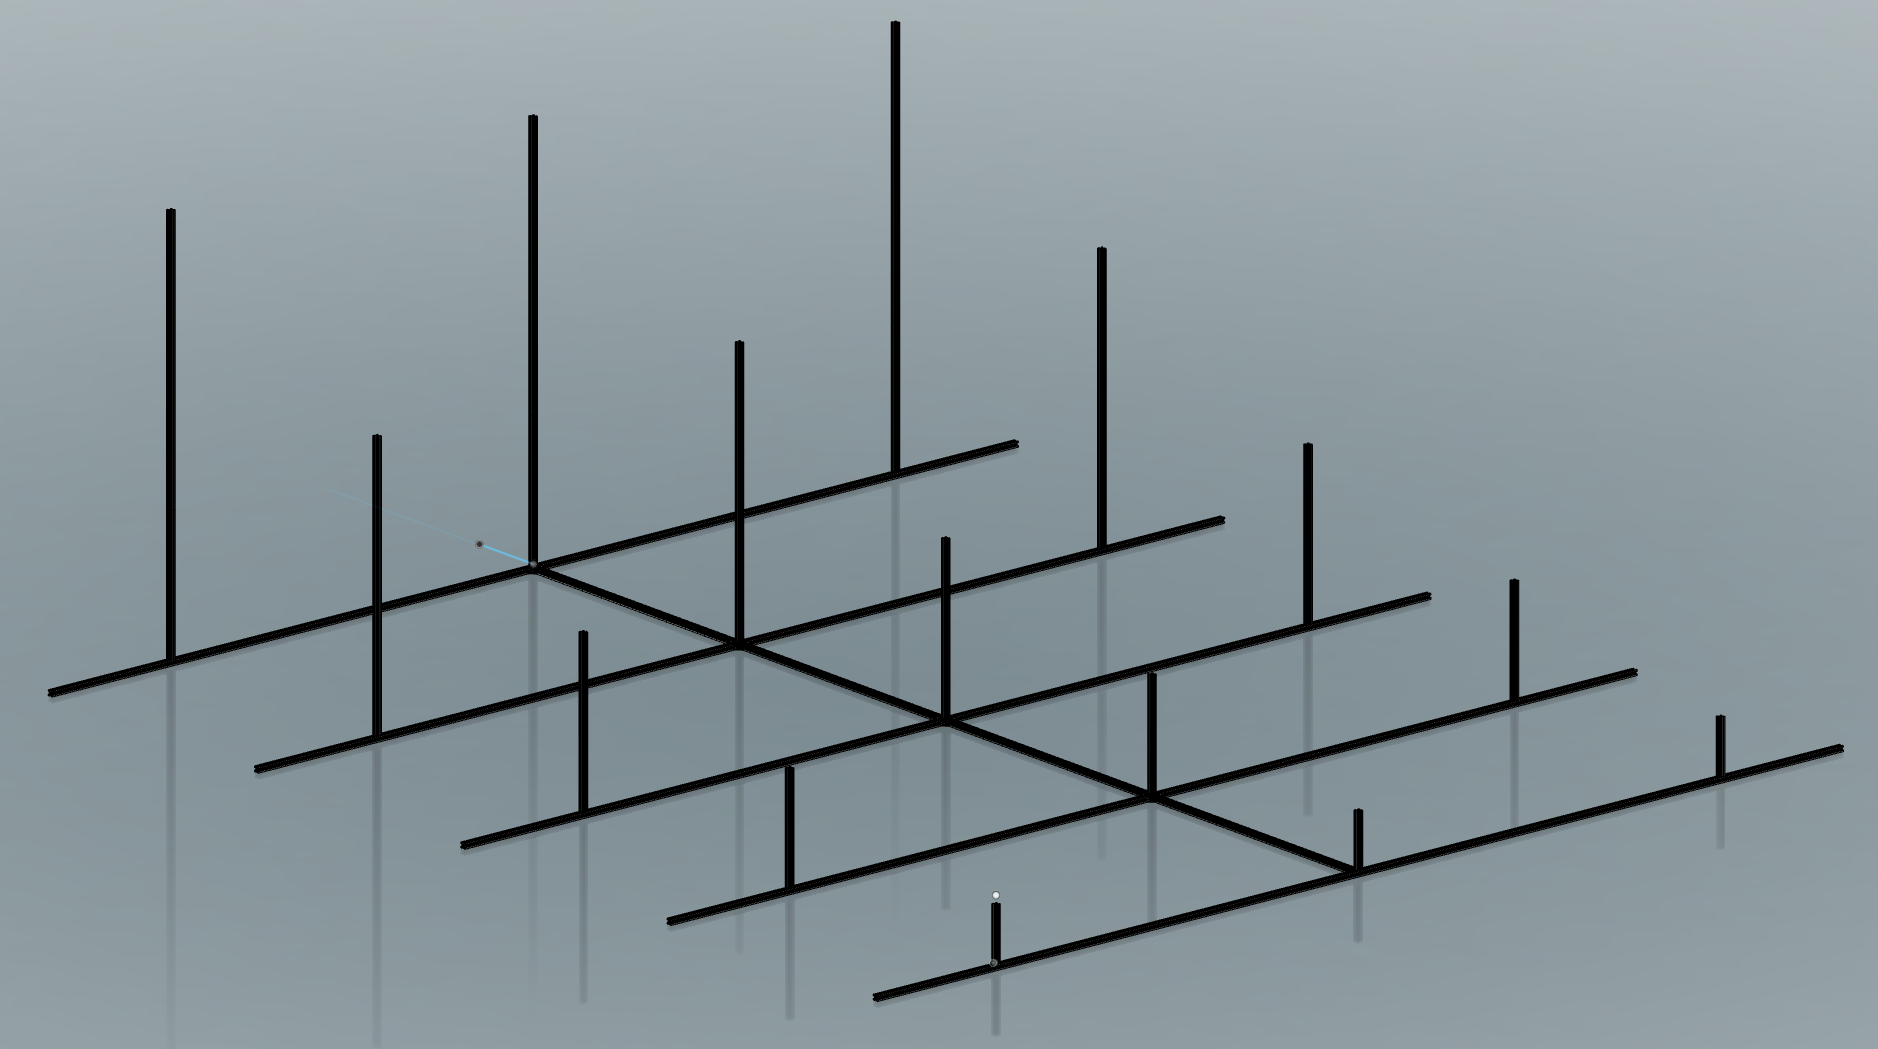
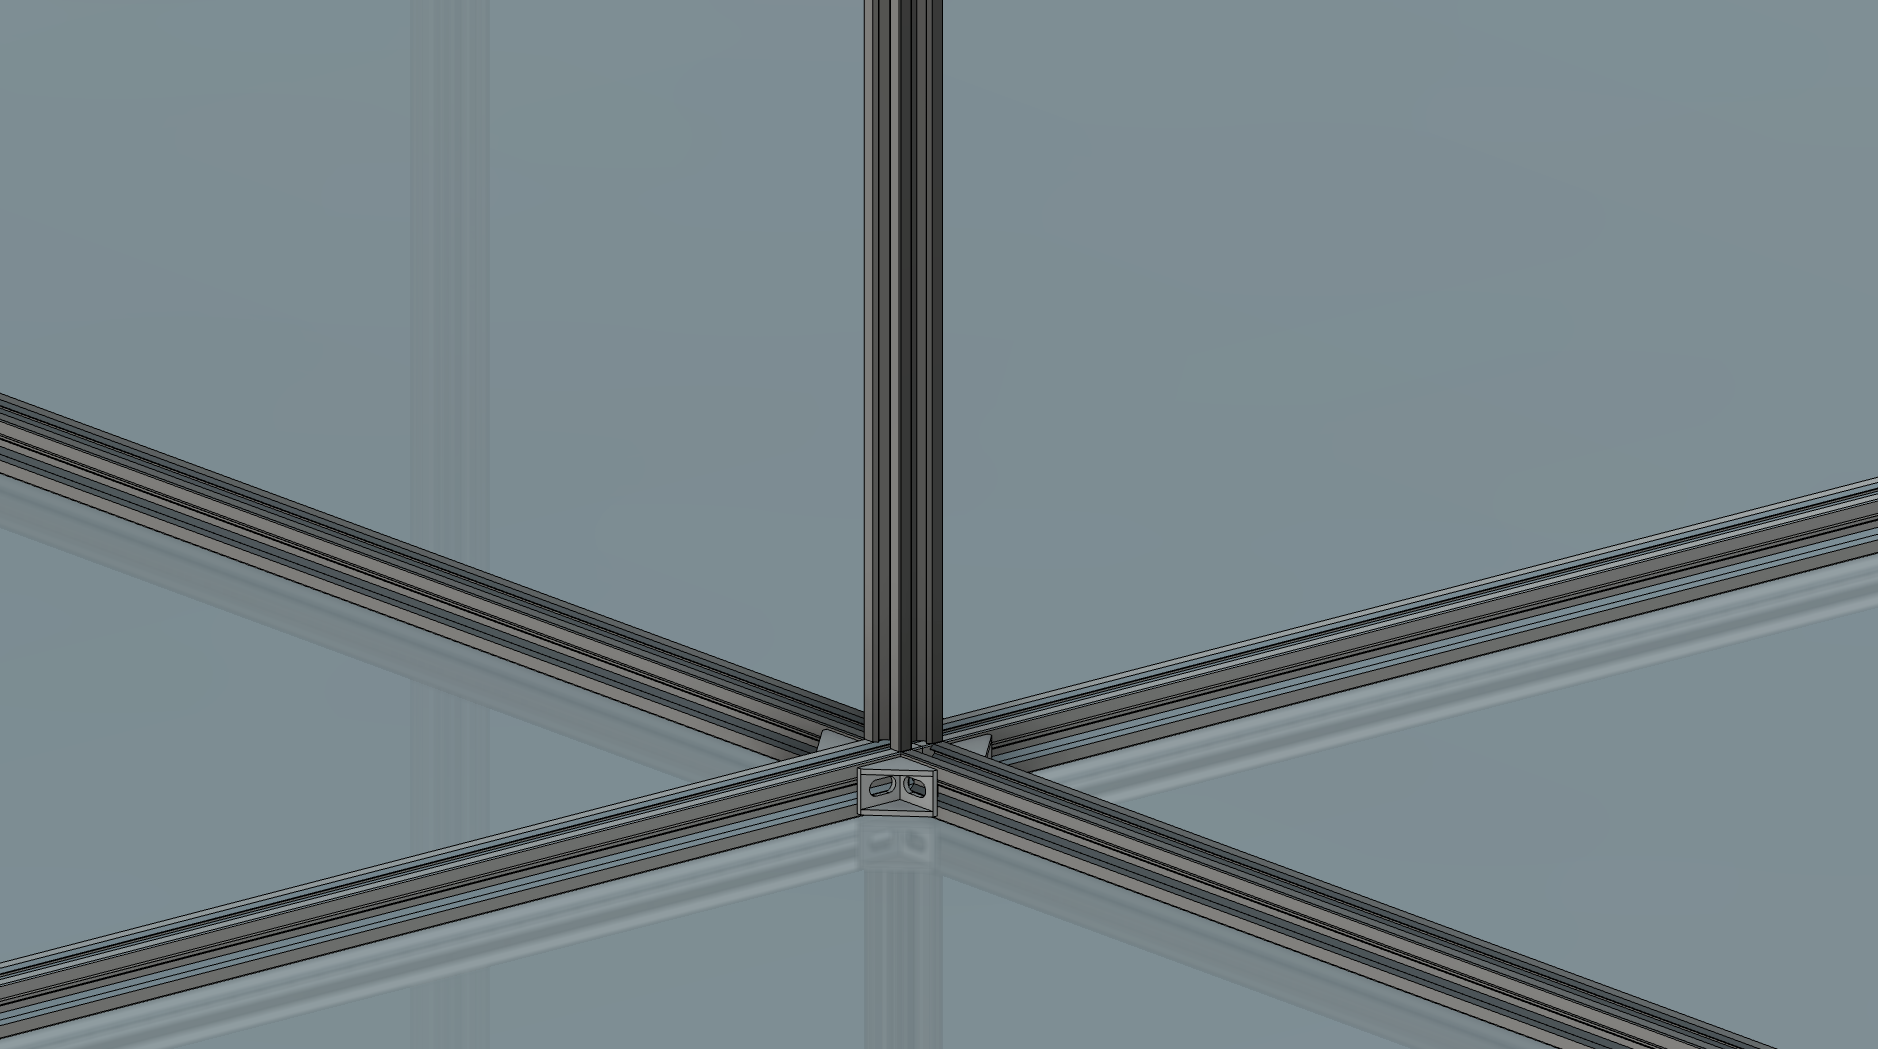
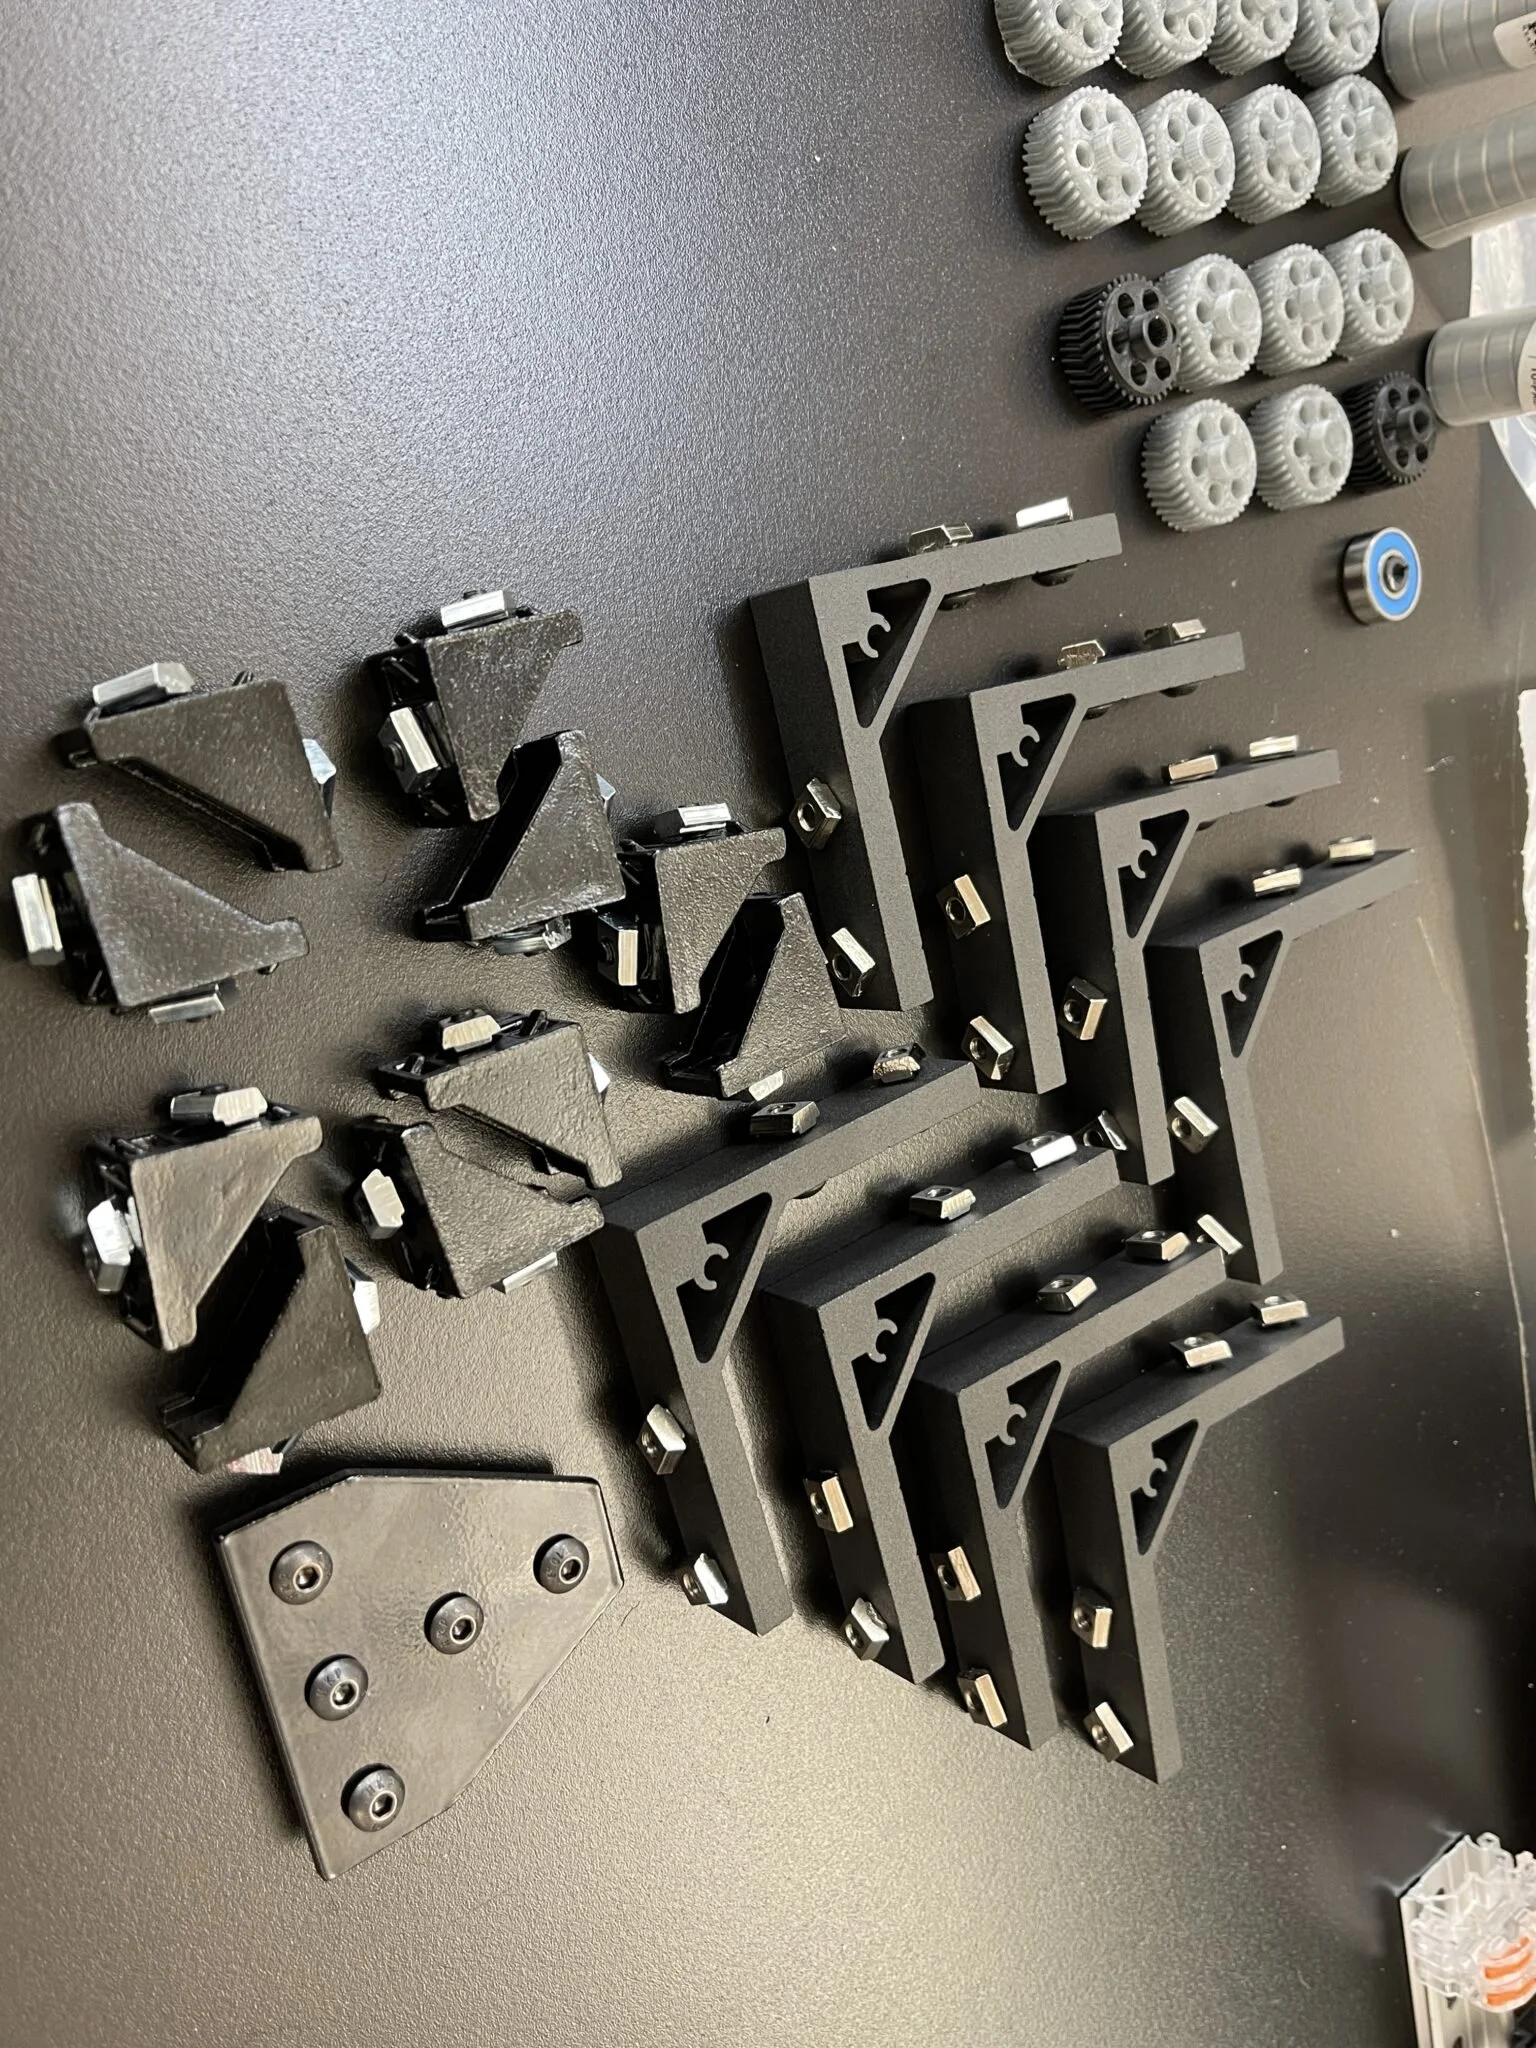
Every piece is cut to a standard, readily available length. The verticals step up in an exponential height gradient from the first row to the last; each row is joined by two 2 m extrusions for reach. The bottom members connect with 90-degree angle brackets, and the verticals mount according to their height — balancing cost against stability.
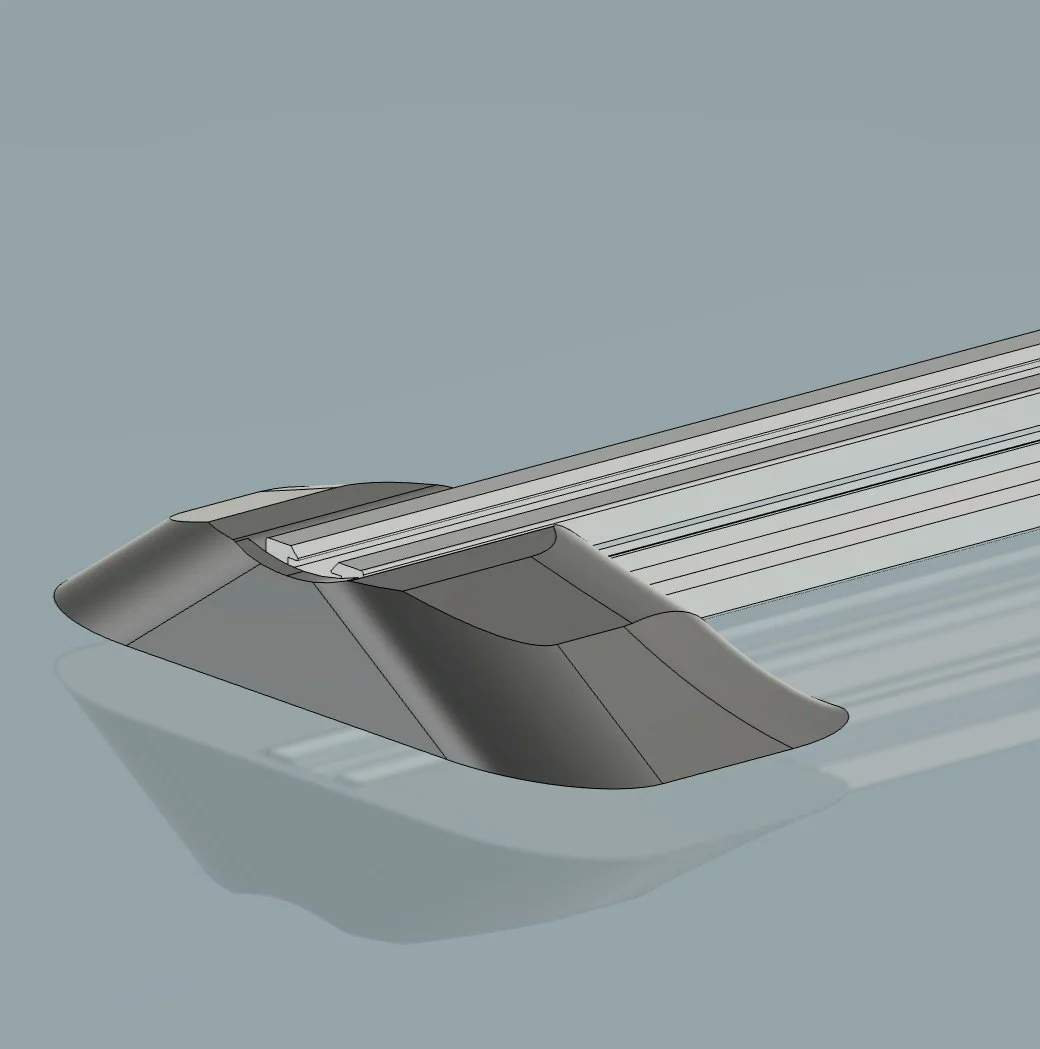
I also designed feet for the end of each row, for better footing.
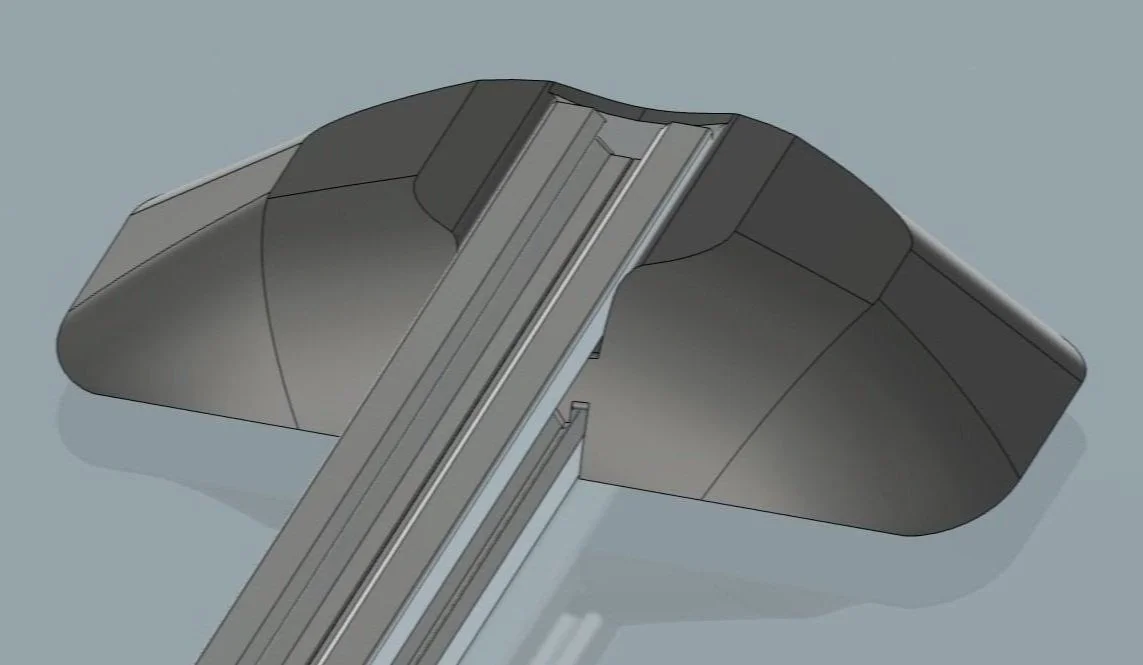
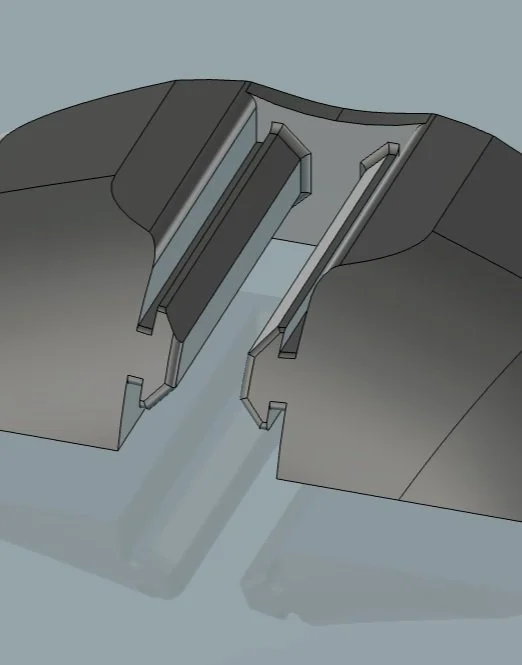
Housing
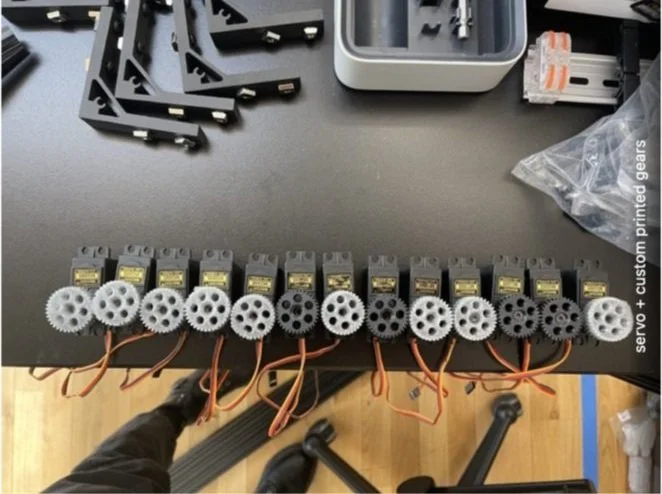
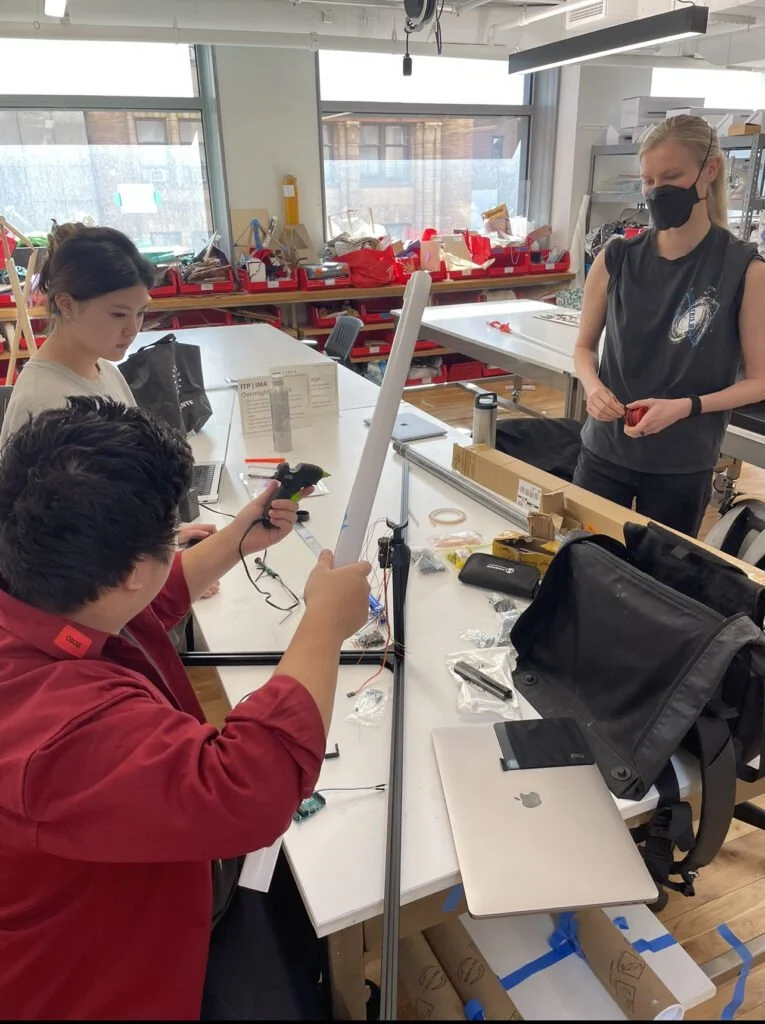
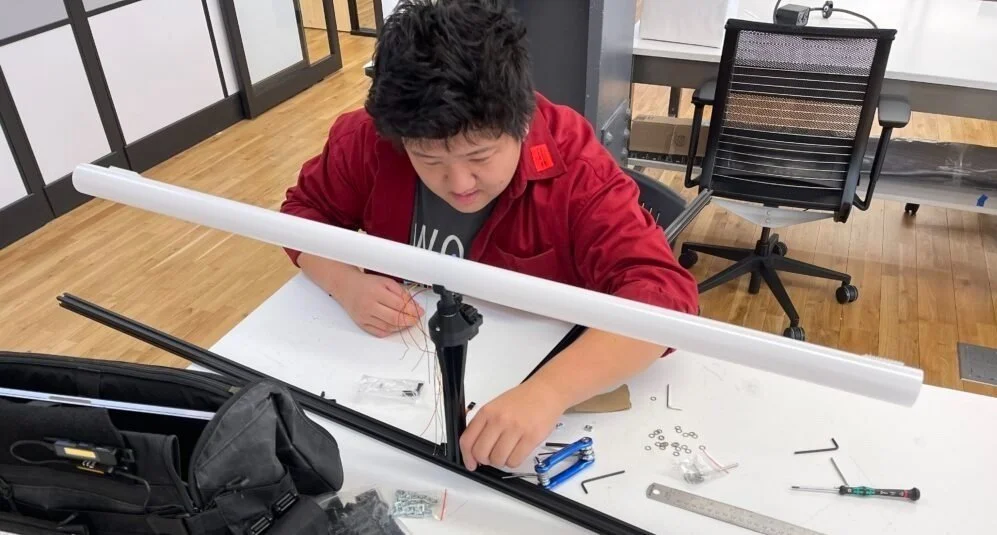

With the structure standing, I turned to the housing — the make-or-break part of this build: fifteen of them, each holding a servo, a slip ring, a light tube, and its share of miscellaneous accessories.
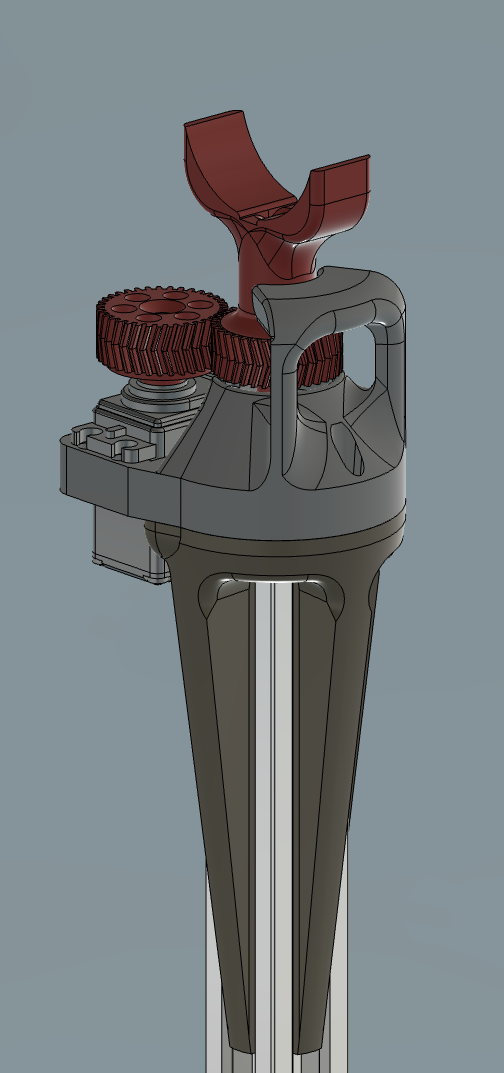
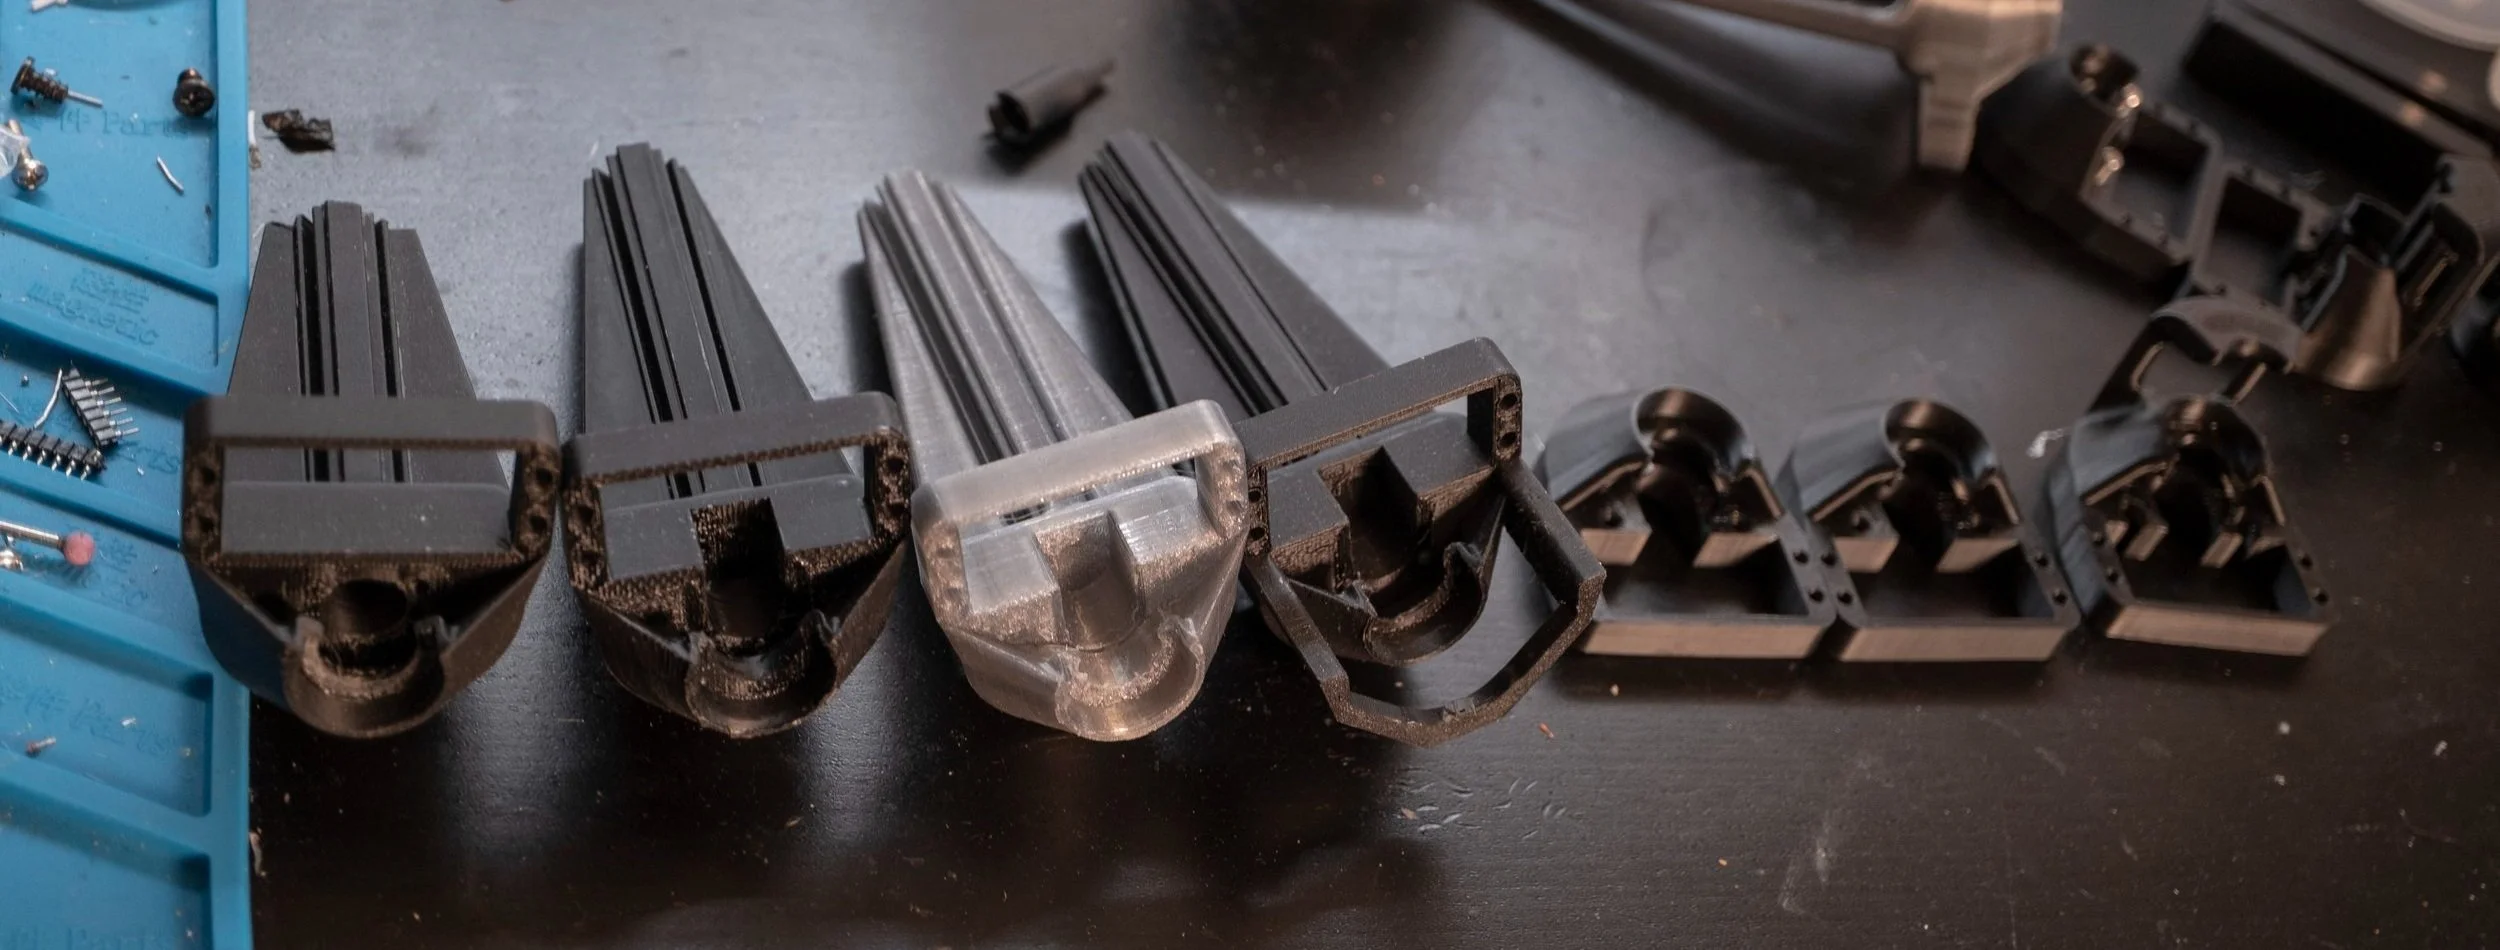
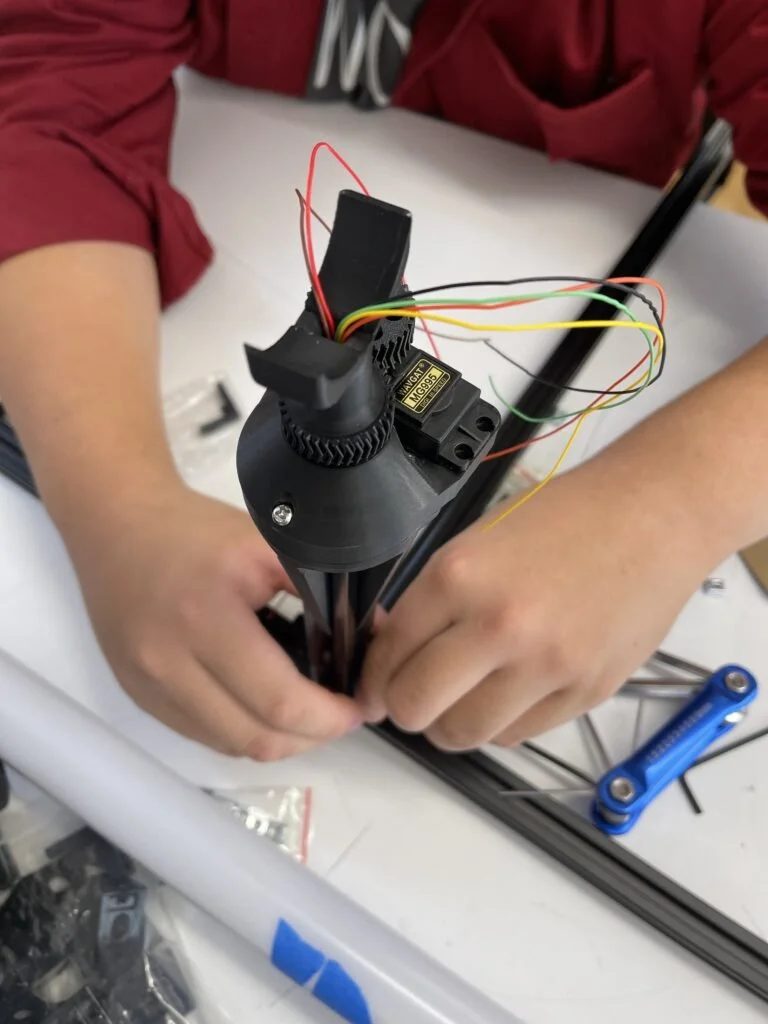
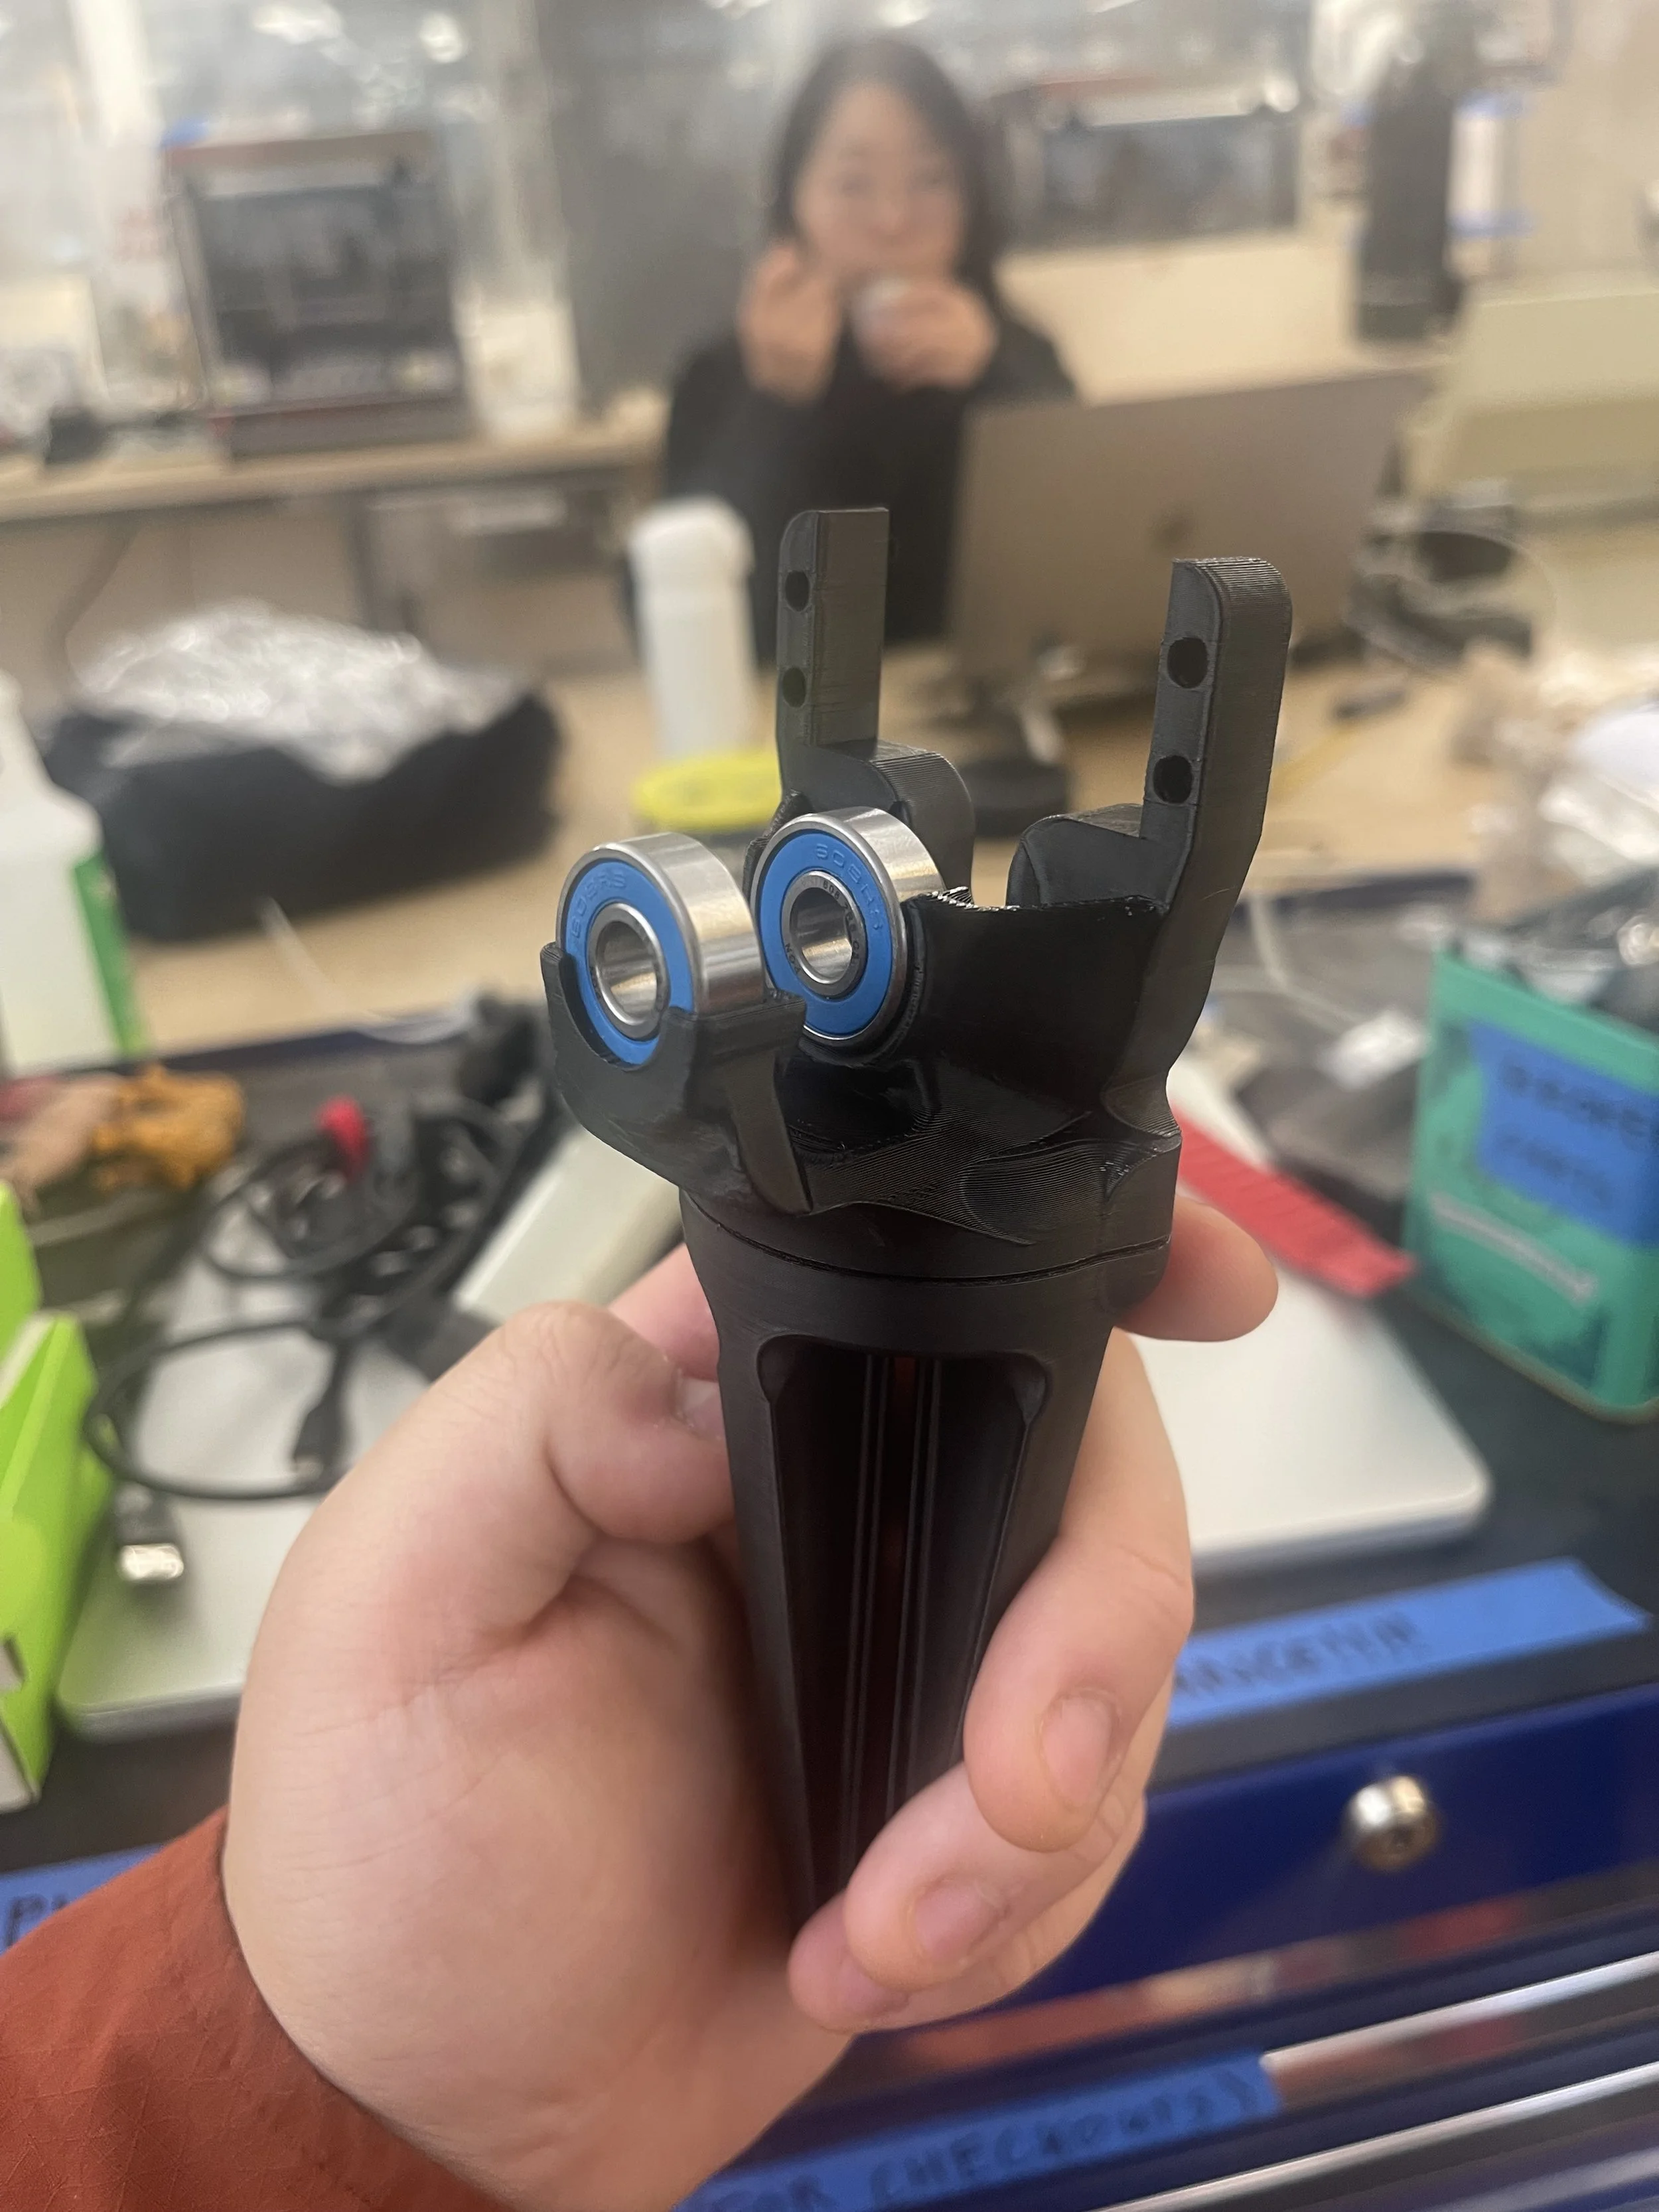
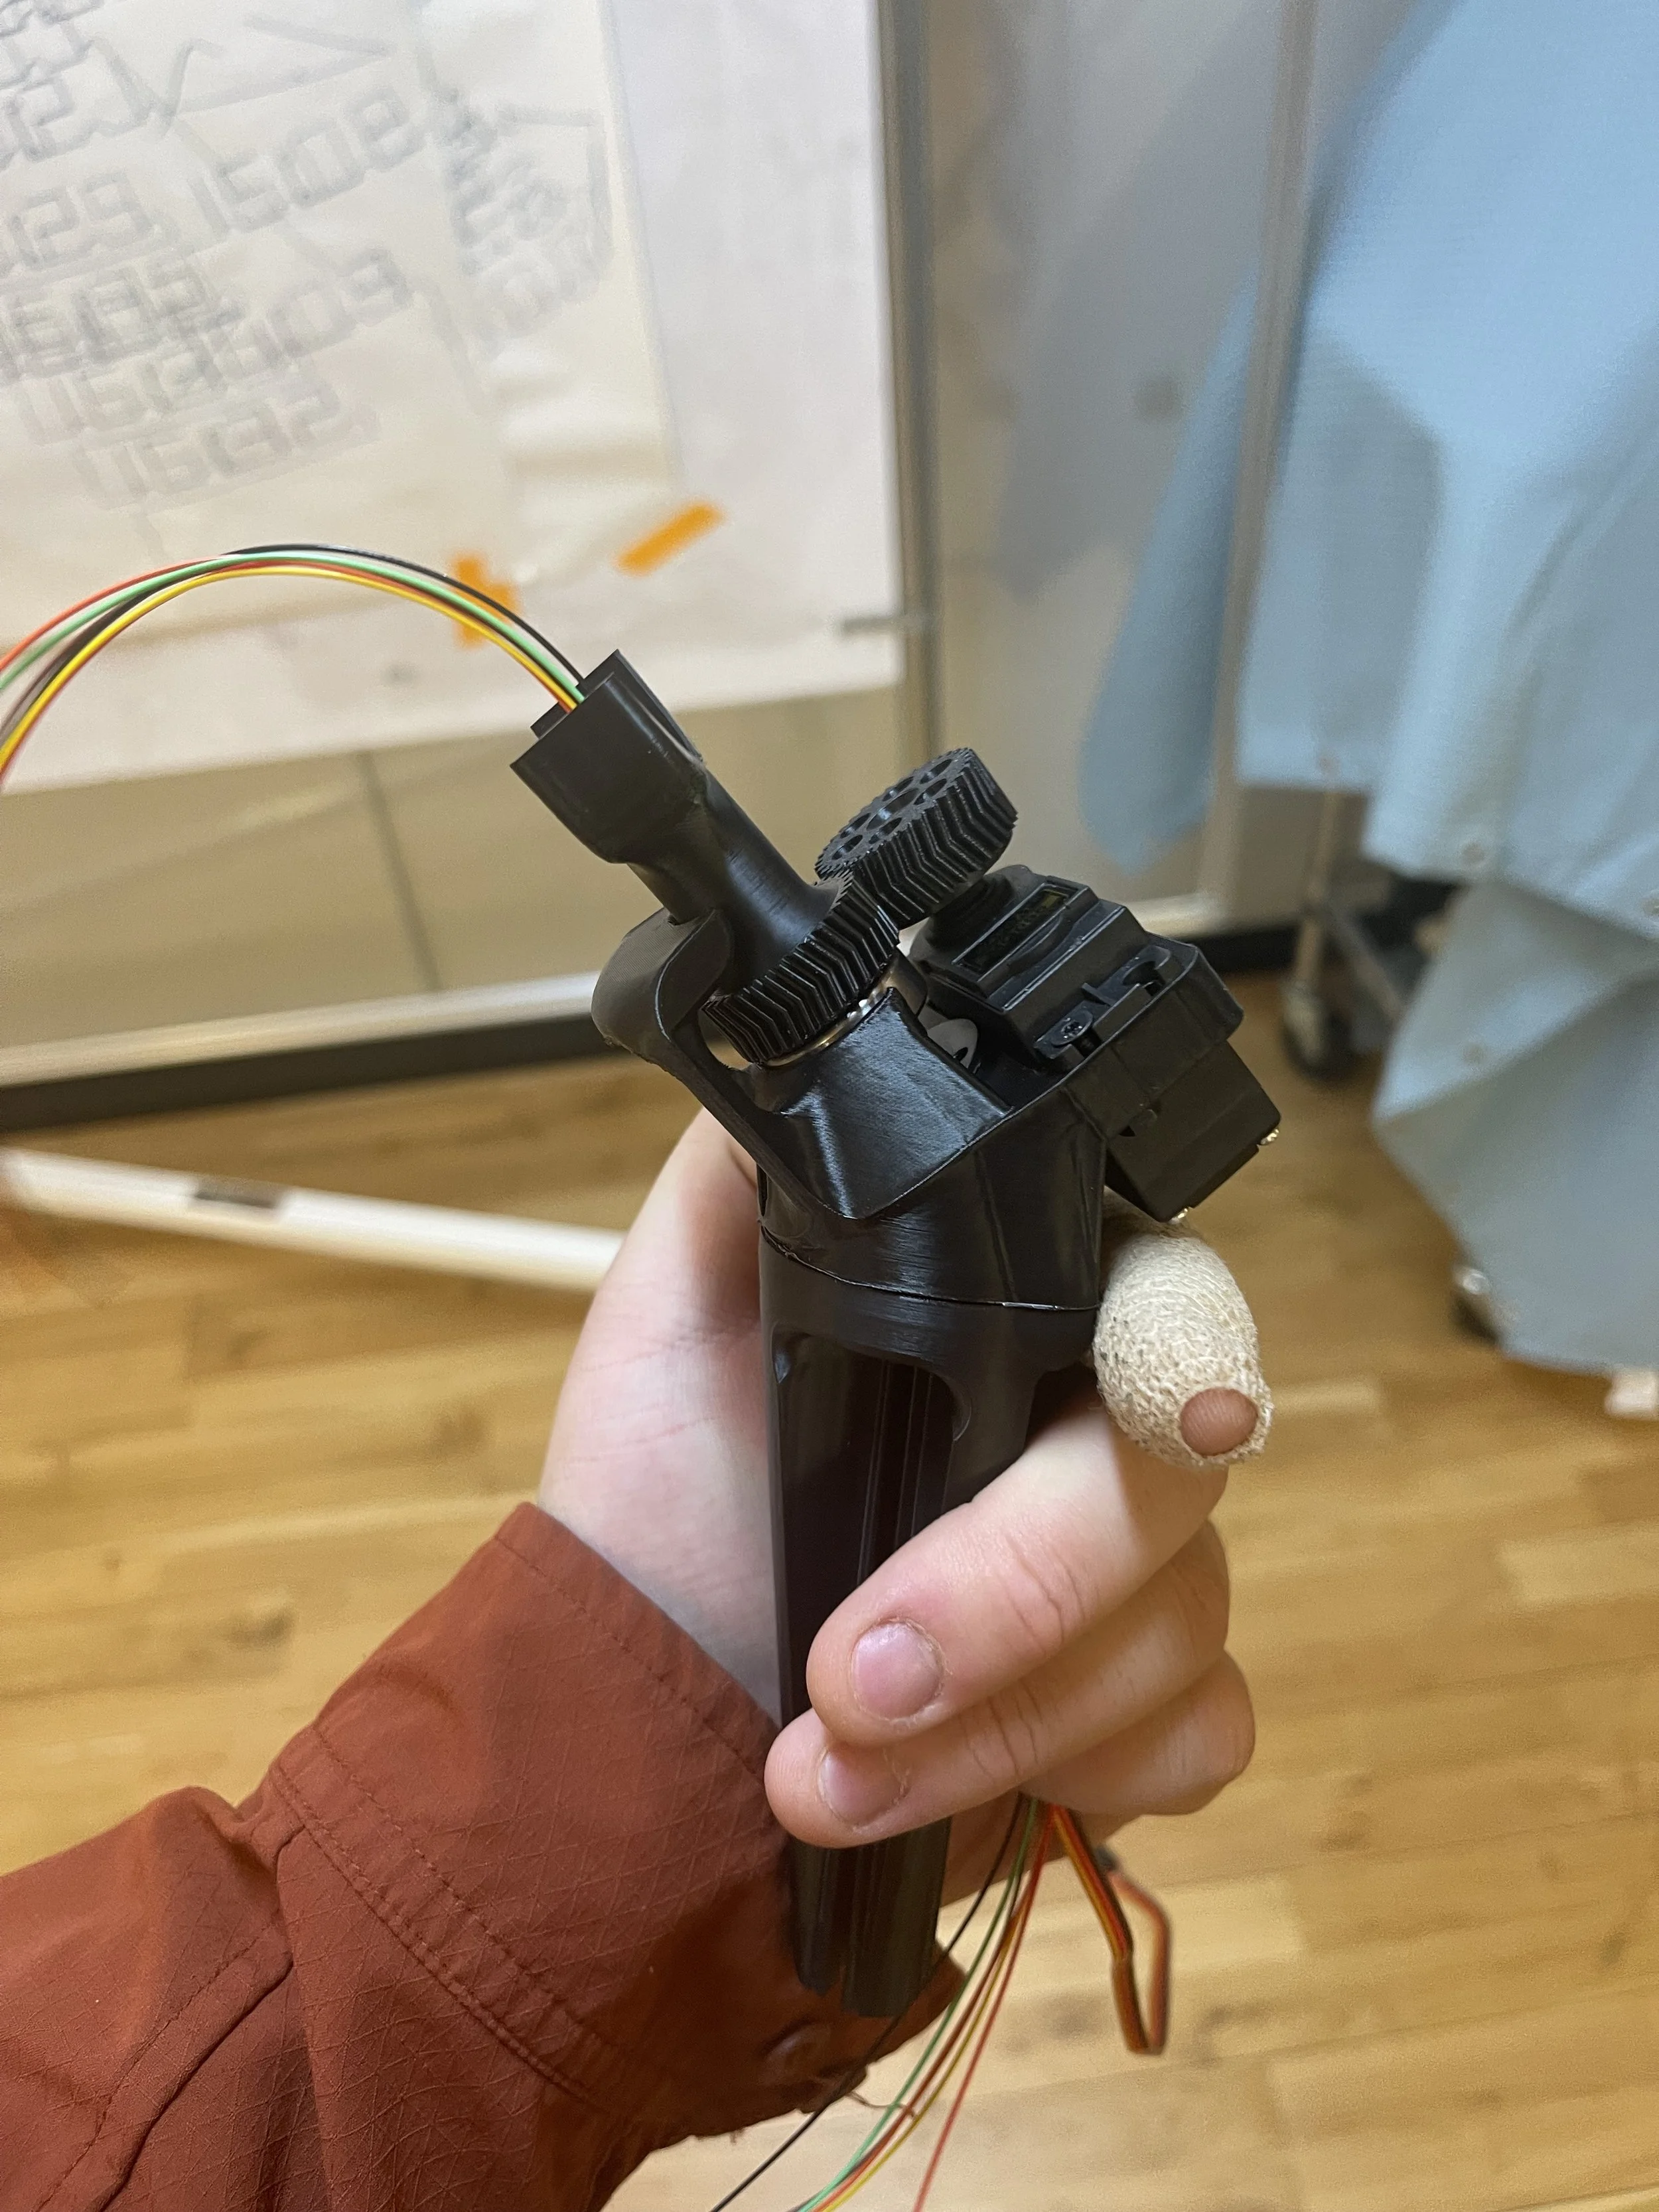
The standard flat housing was iterated and tweaked more times than is worth recounting. It consists of two parts:
- a lower part that mounts to the extrusion with four legs friction-fitted into the t-slots;
- an upper part that houses the geared servo, the wired slip ring, a bearing, and the geared holder that carries the tube.
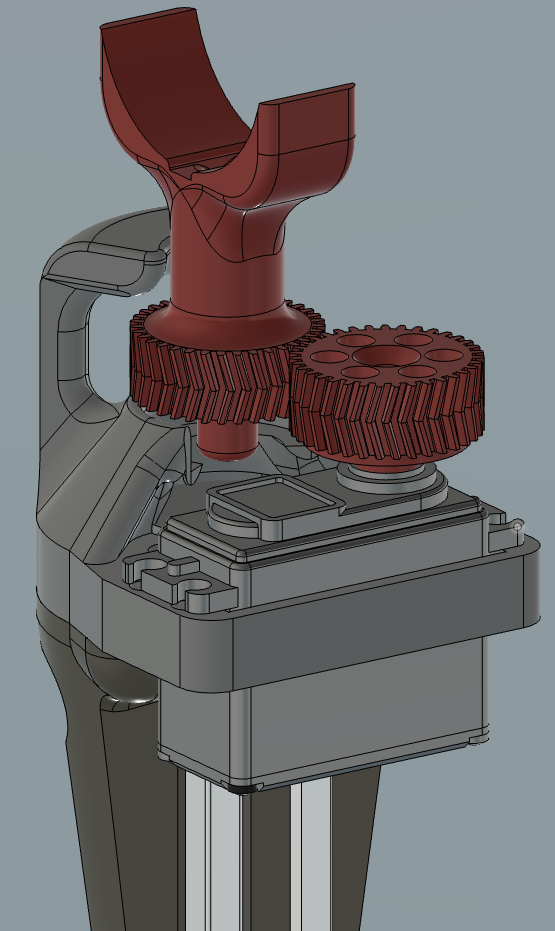
Following the height gradient of the verticals, the housing comes in three versions: flat for the first three rows, 45-degree for the fourth, and 90-degree for the fifth.
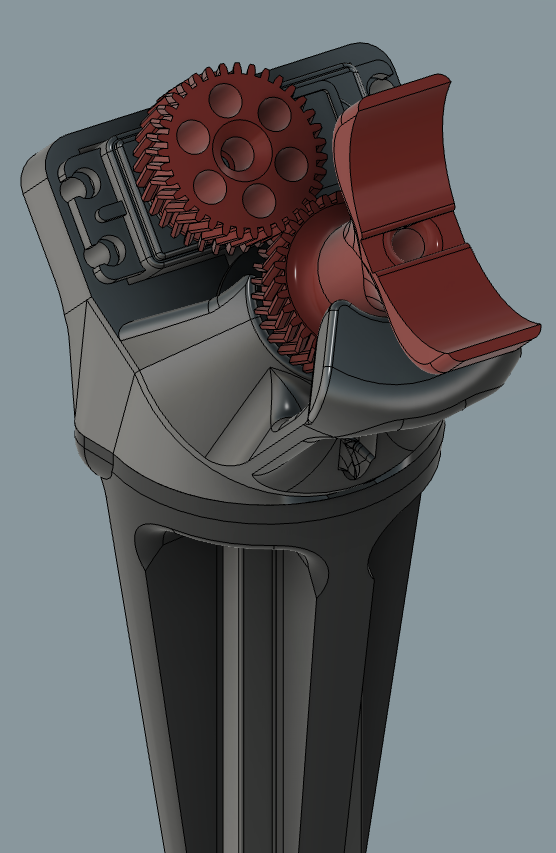
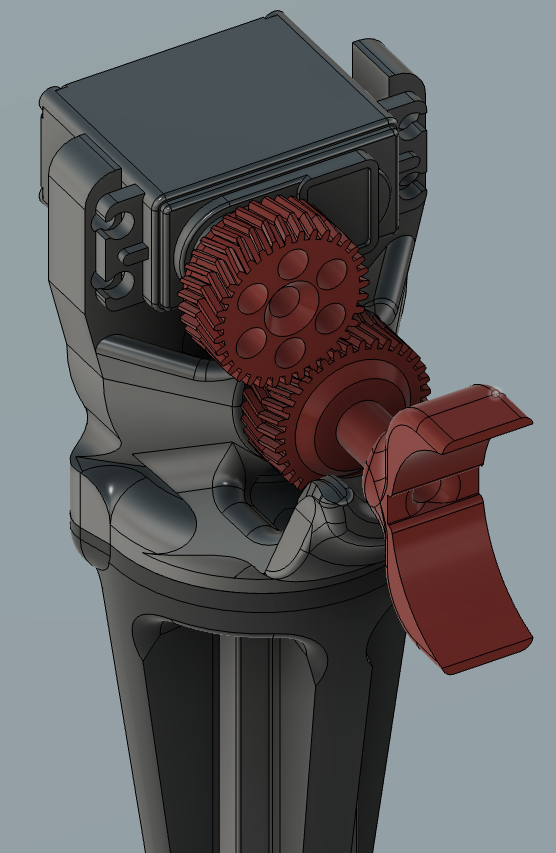
Fifteen copies of a complex part is small-batch production, so fabrication went to 3D printing and the design was optimized for it: the two parts print support-free on the bed and screw together with heat-set threaded inserts. I printed them in polycarbonate for maximum strength.
Lighting
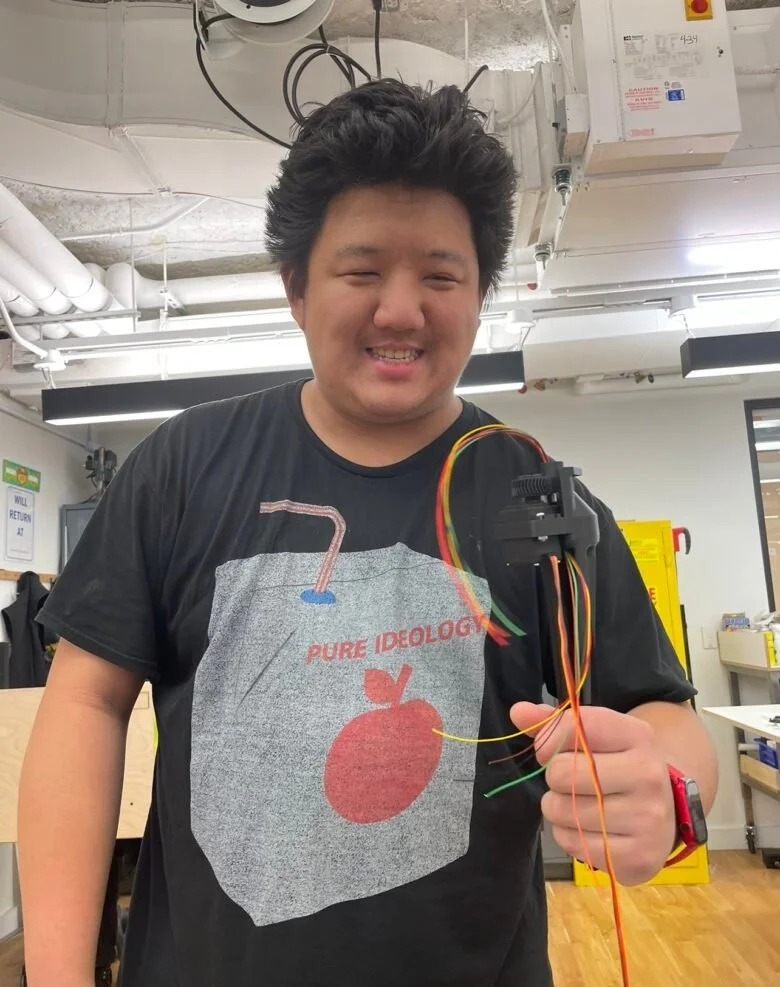
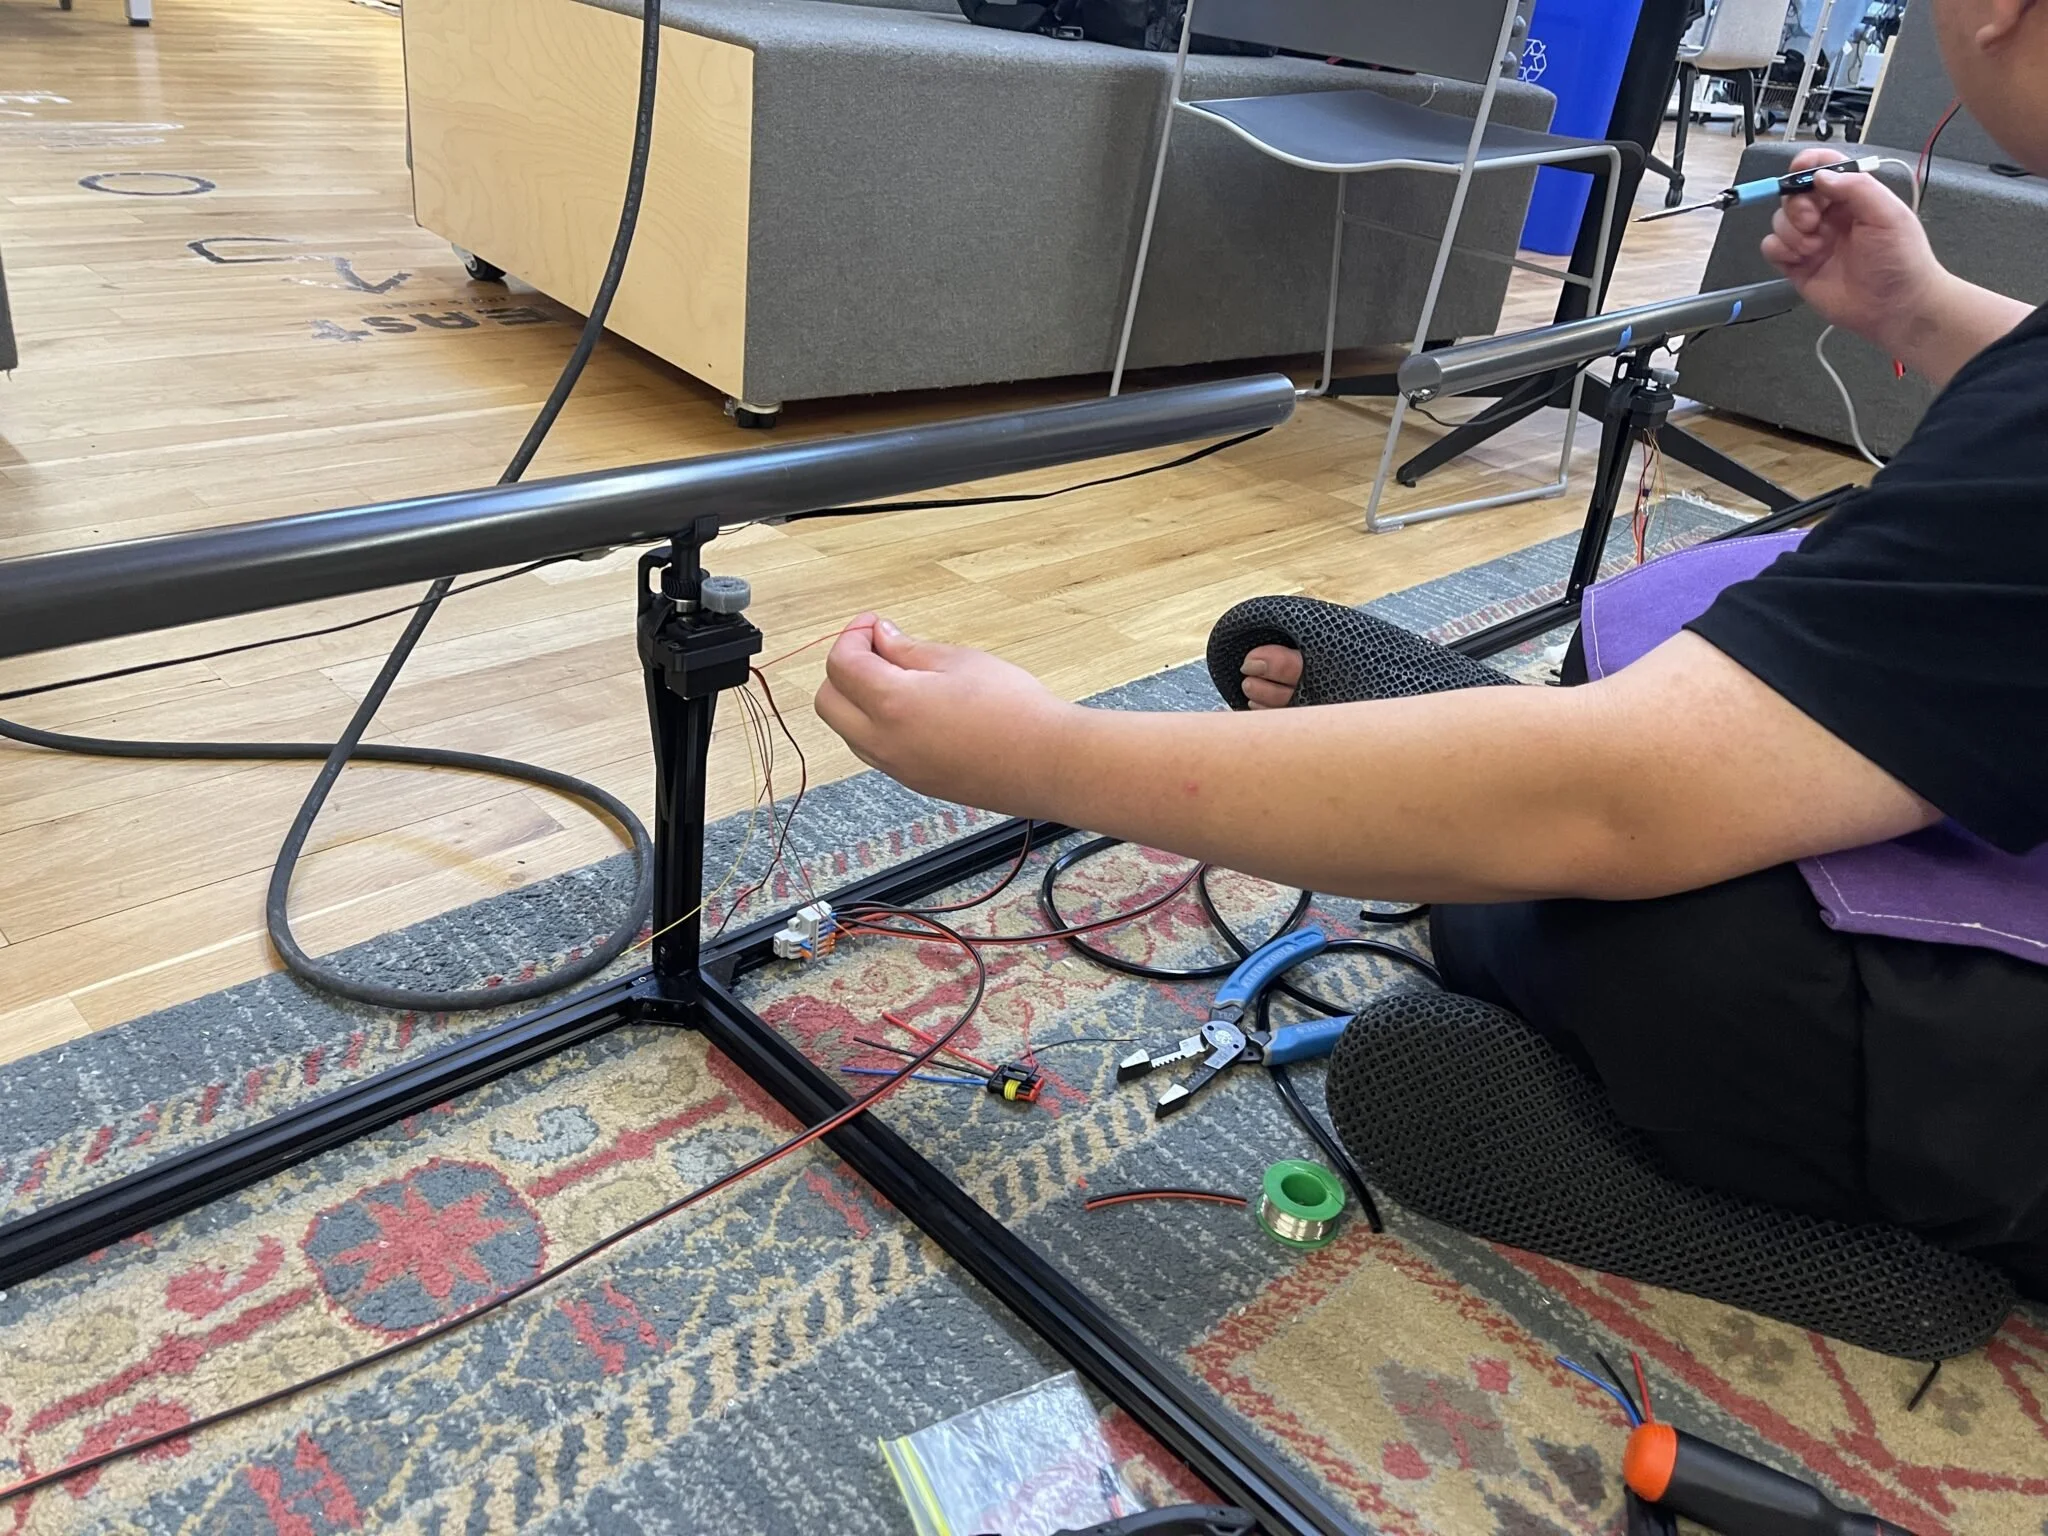
The LEDs are the heart of the piece: addressable WS2812s for maximum control, behind black polycarbonate diffuser tubes. Wiring was the tricky part — the tubes sit on spinning parts. A slip ring is the standard answer, but they run either too large or too expensive when you need sixteen, so I picked a very cheap type with thin 28-gauge wires and drew the schematic in parallel to keep the current load on each wire in check.


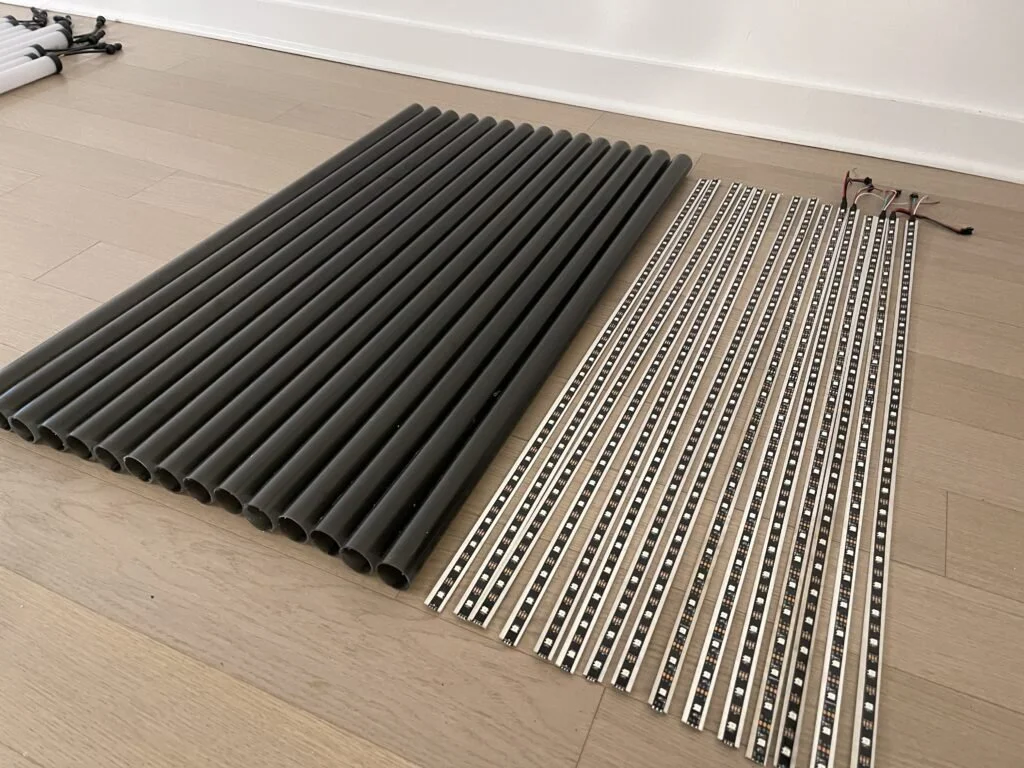
We landed on DMX for the servos as well: one protocol driving both the light and motor networks from TouchDesigner keeps the whole construction simpler and more efficient.
The LEDs are programmed in TouchDesigner over DMX — sACN, through a 16-universe pixel controller. The plan was to finish tube construction early enough to explore what our 450 points of light could do with movement, speed, and texture: natural forms, waves, motion, symmetries, gradual fades. Construction ran longer than expected, so less of that exploration happened than we hoped — many of those ideas are already queued for future iterations.
Installing
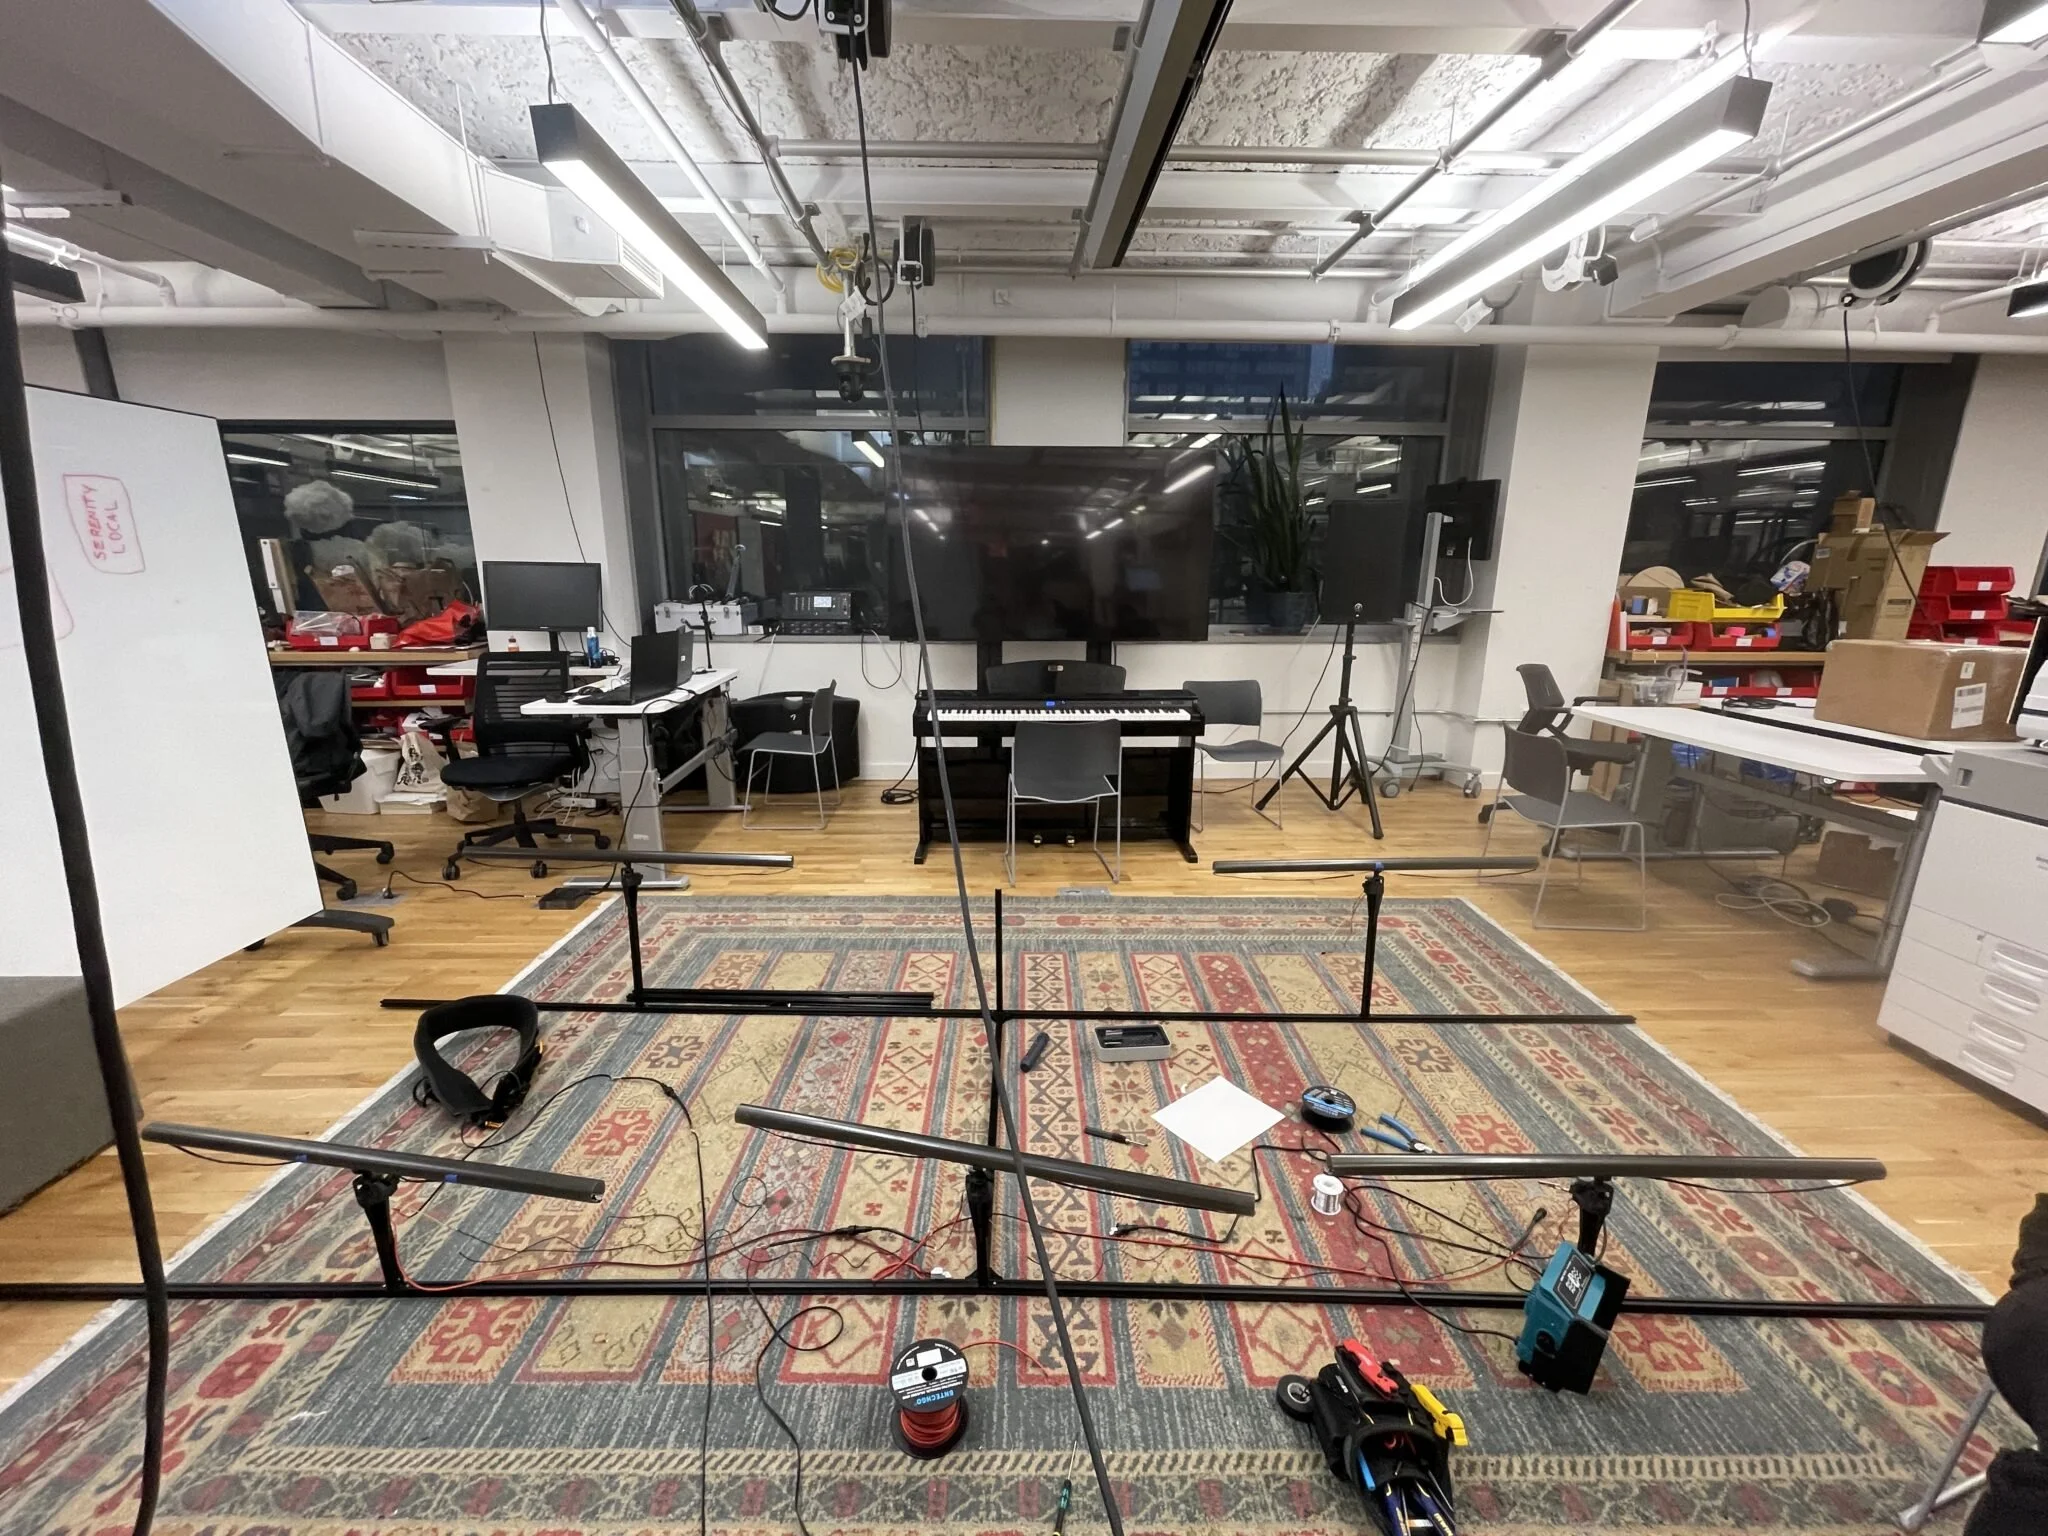
With most of the preparation and purchasing finished or well planned, we ran an installation test ahead of the final show. It surfaced plenty of issues — found, diagnosed, and noted for later.
Show!
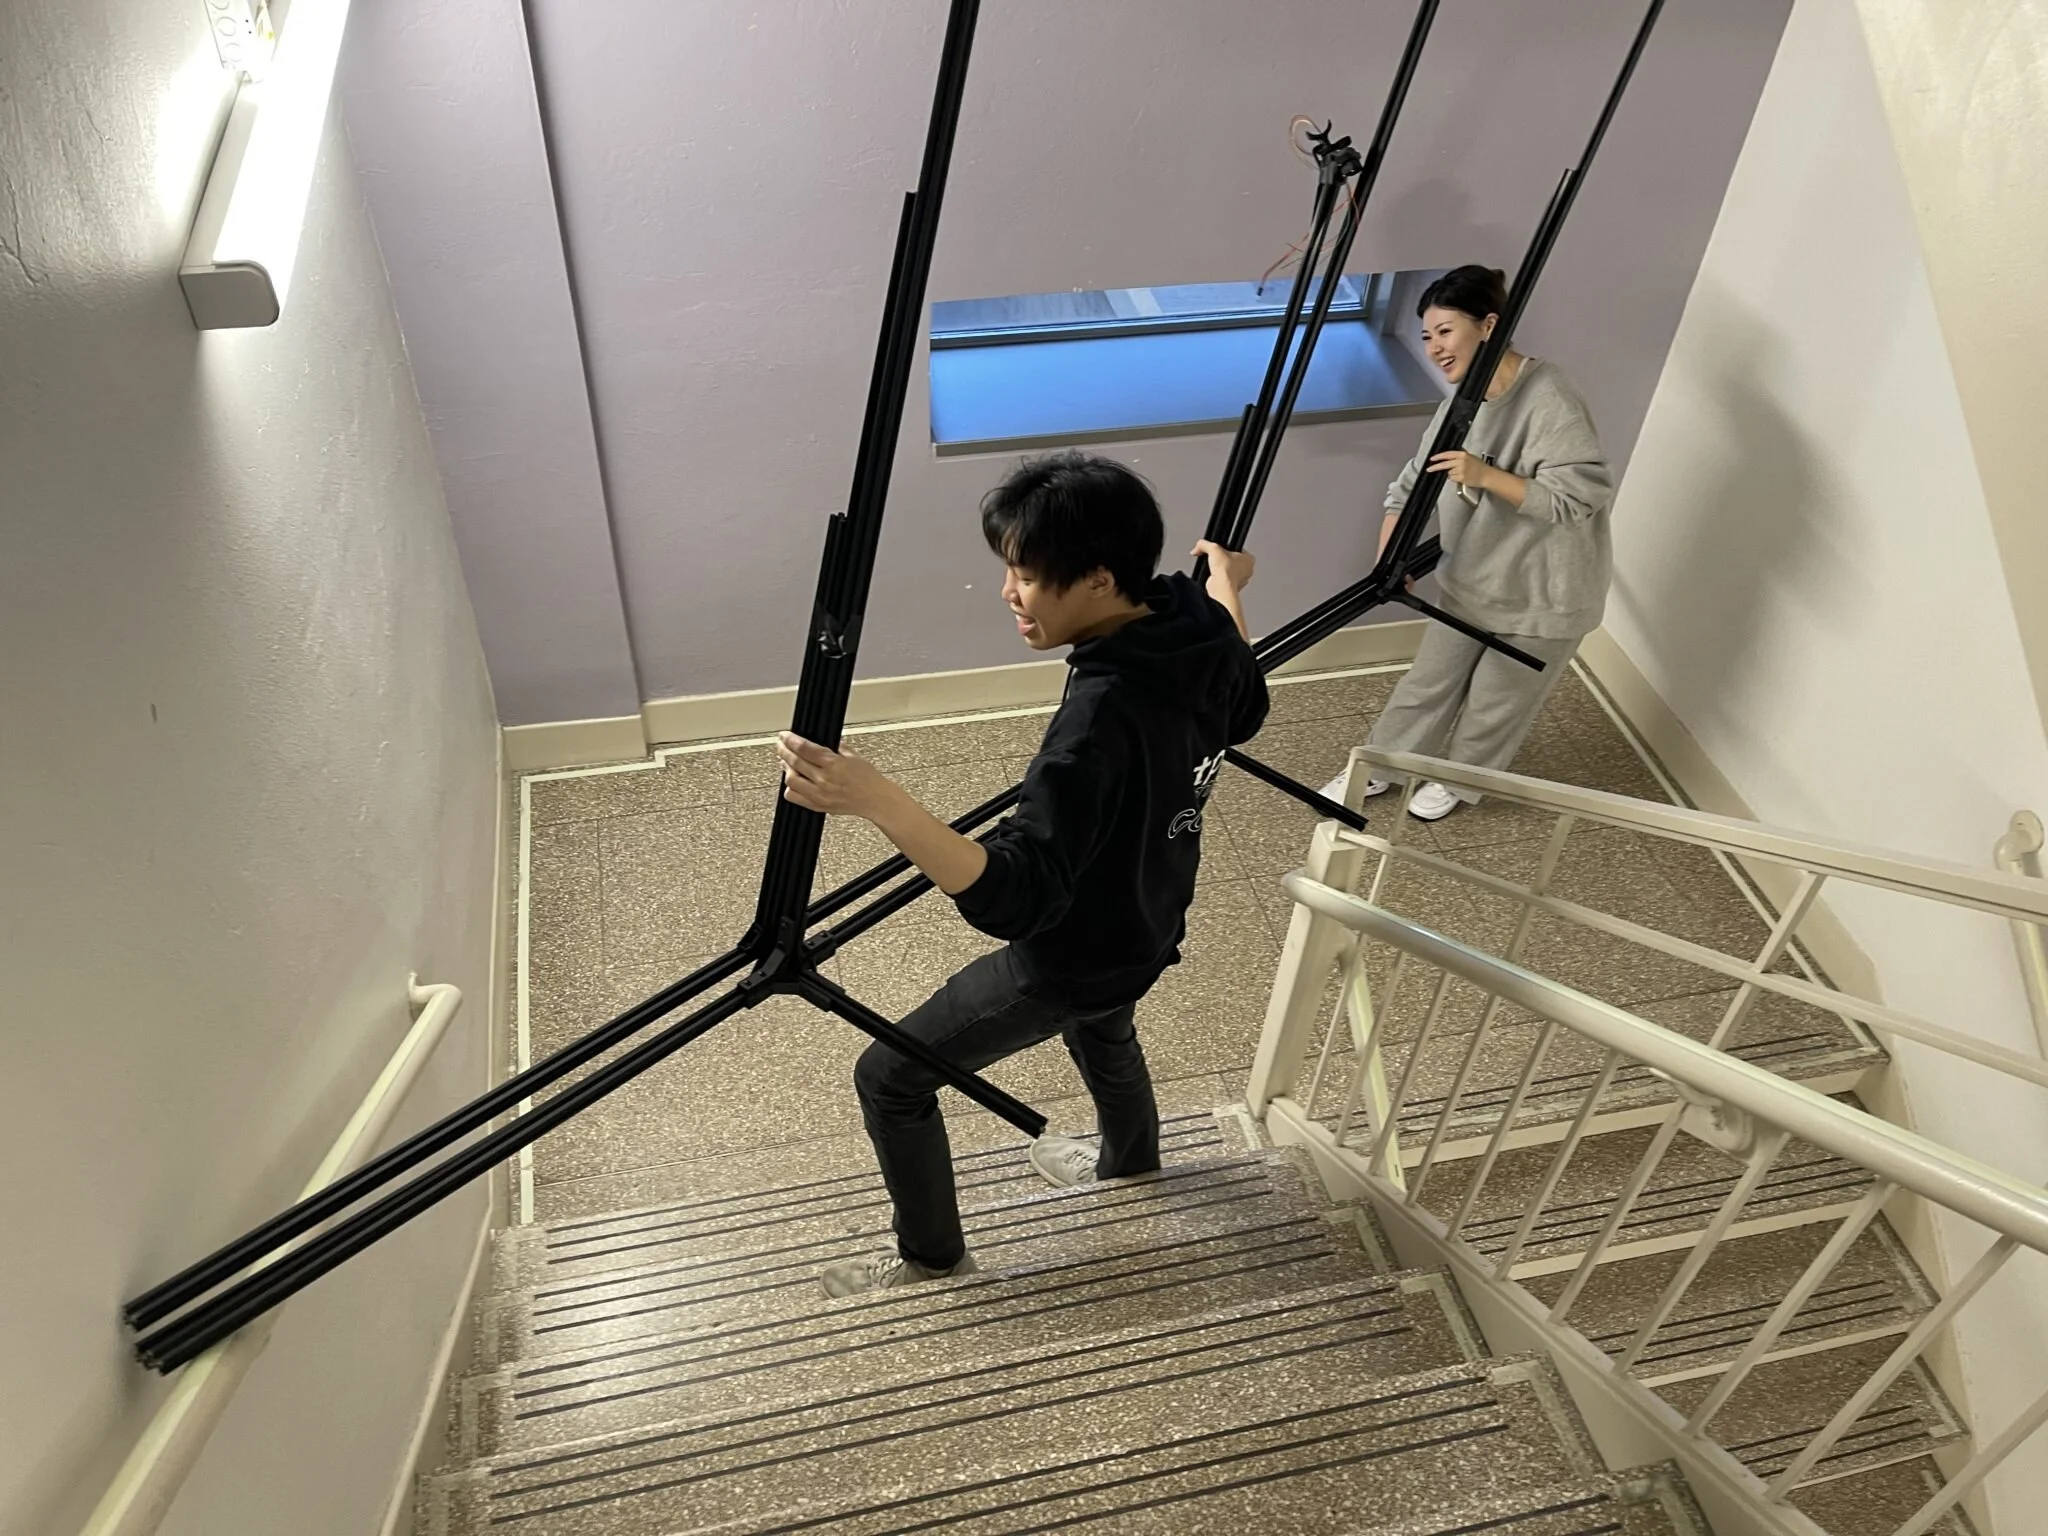
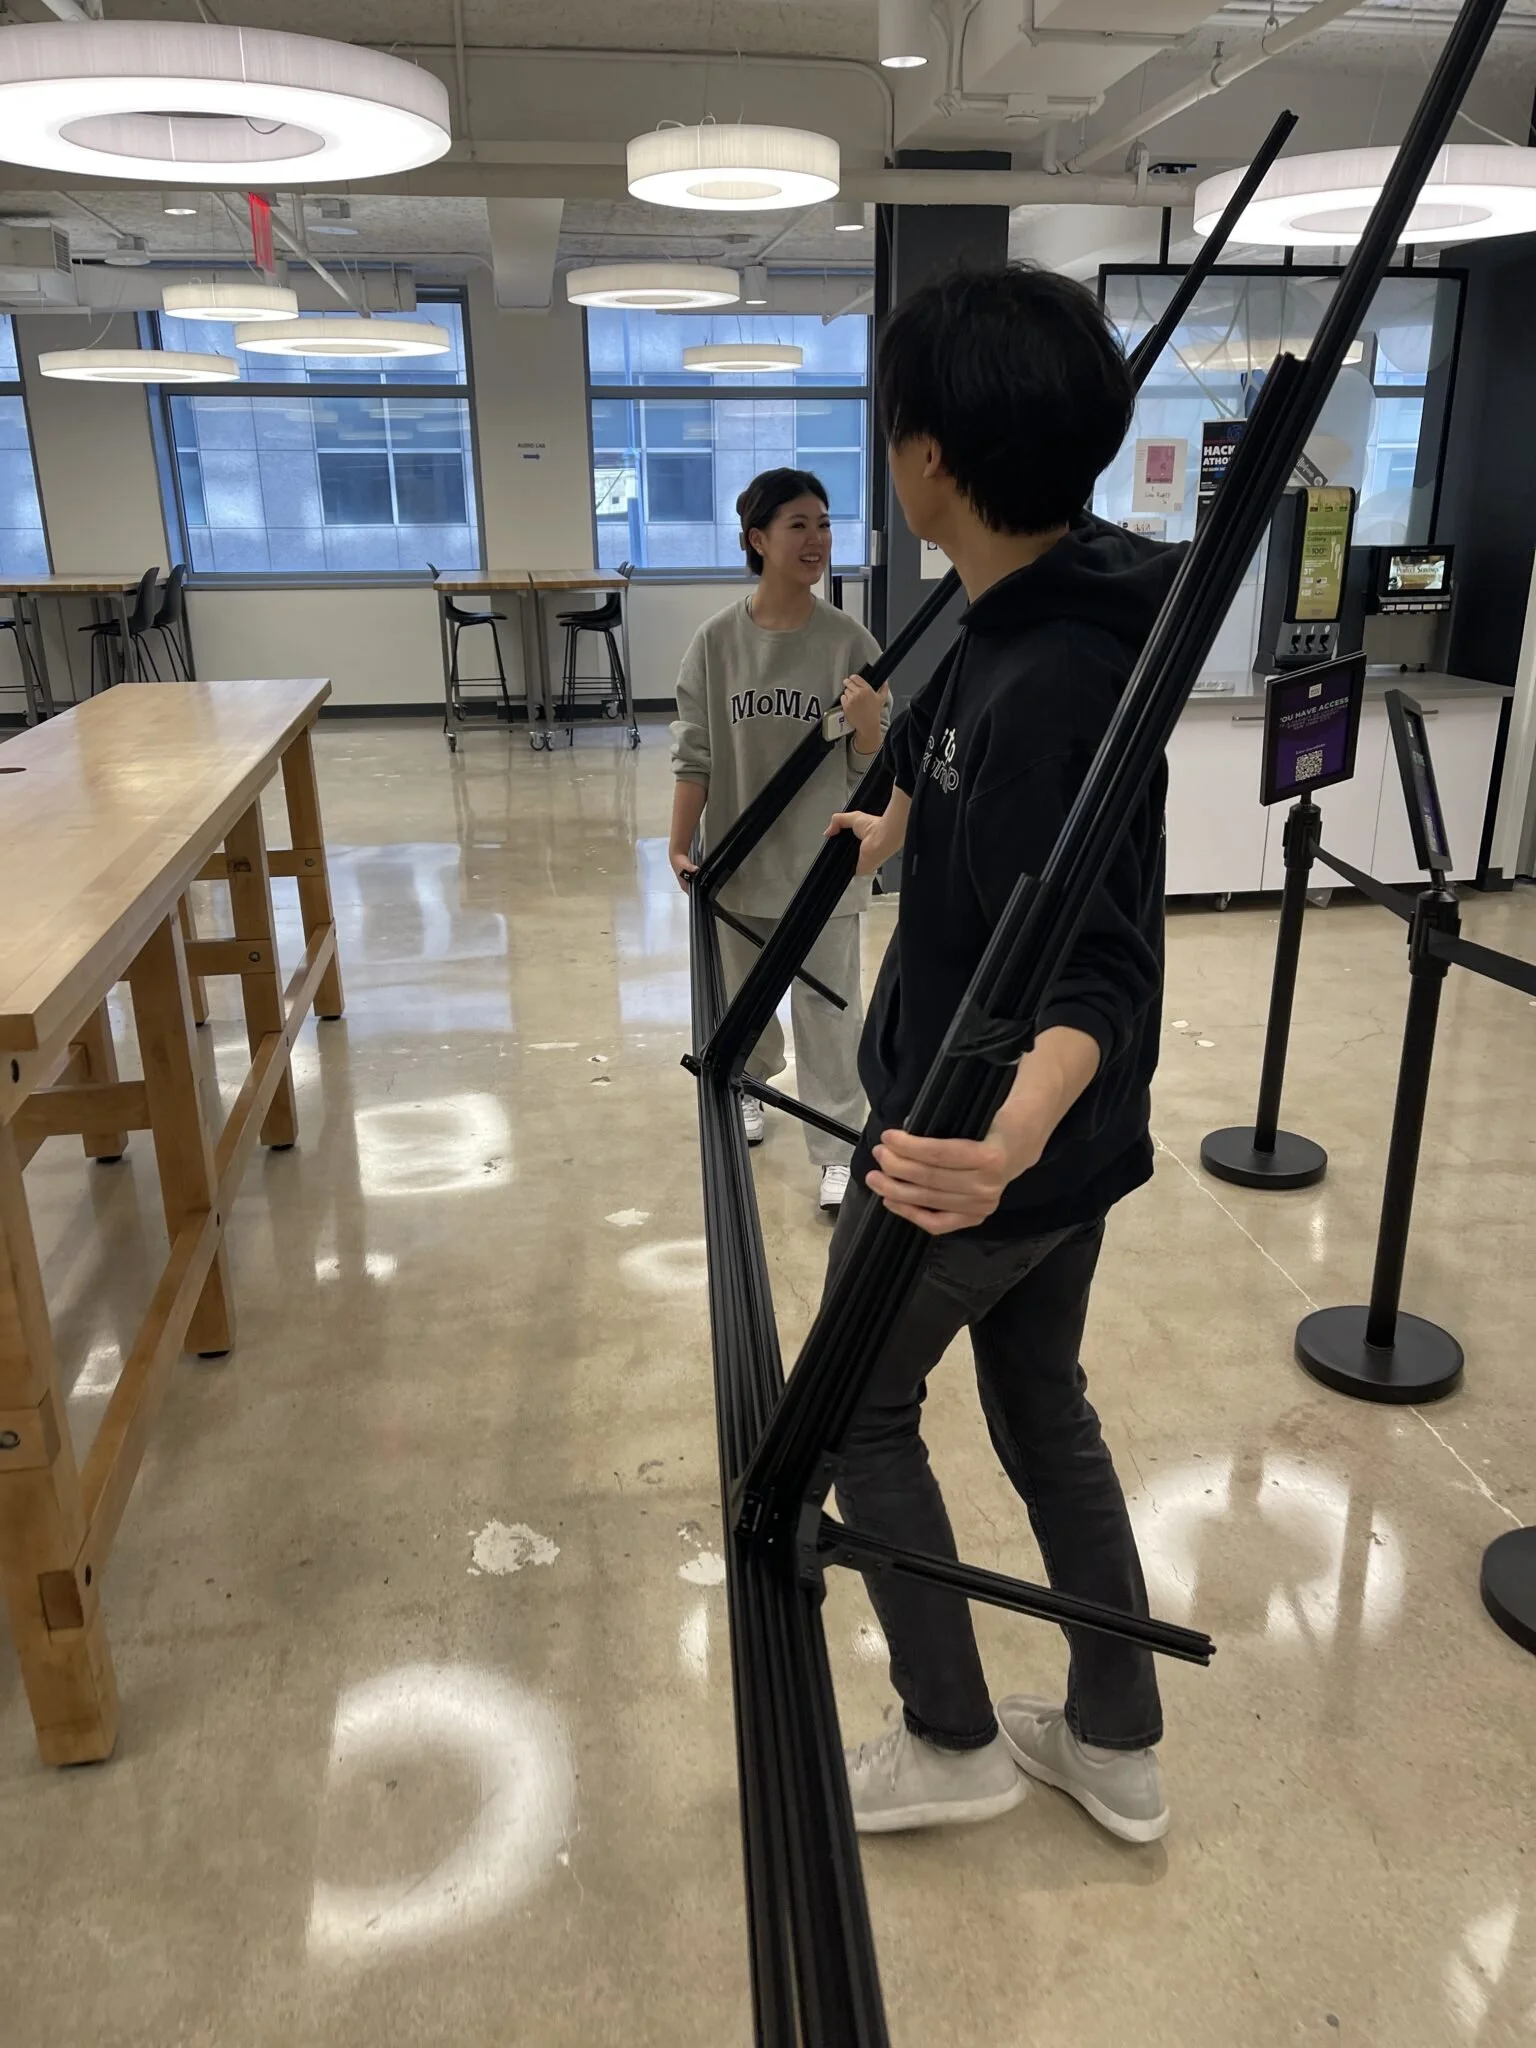
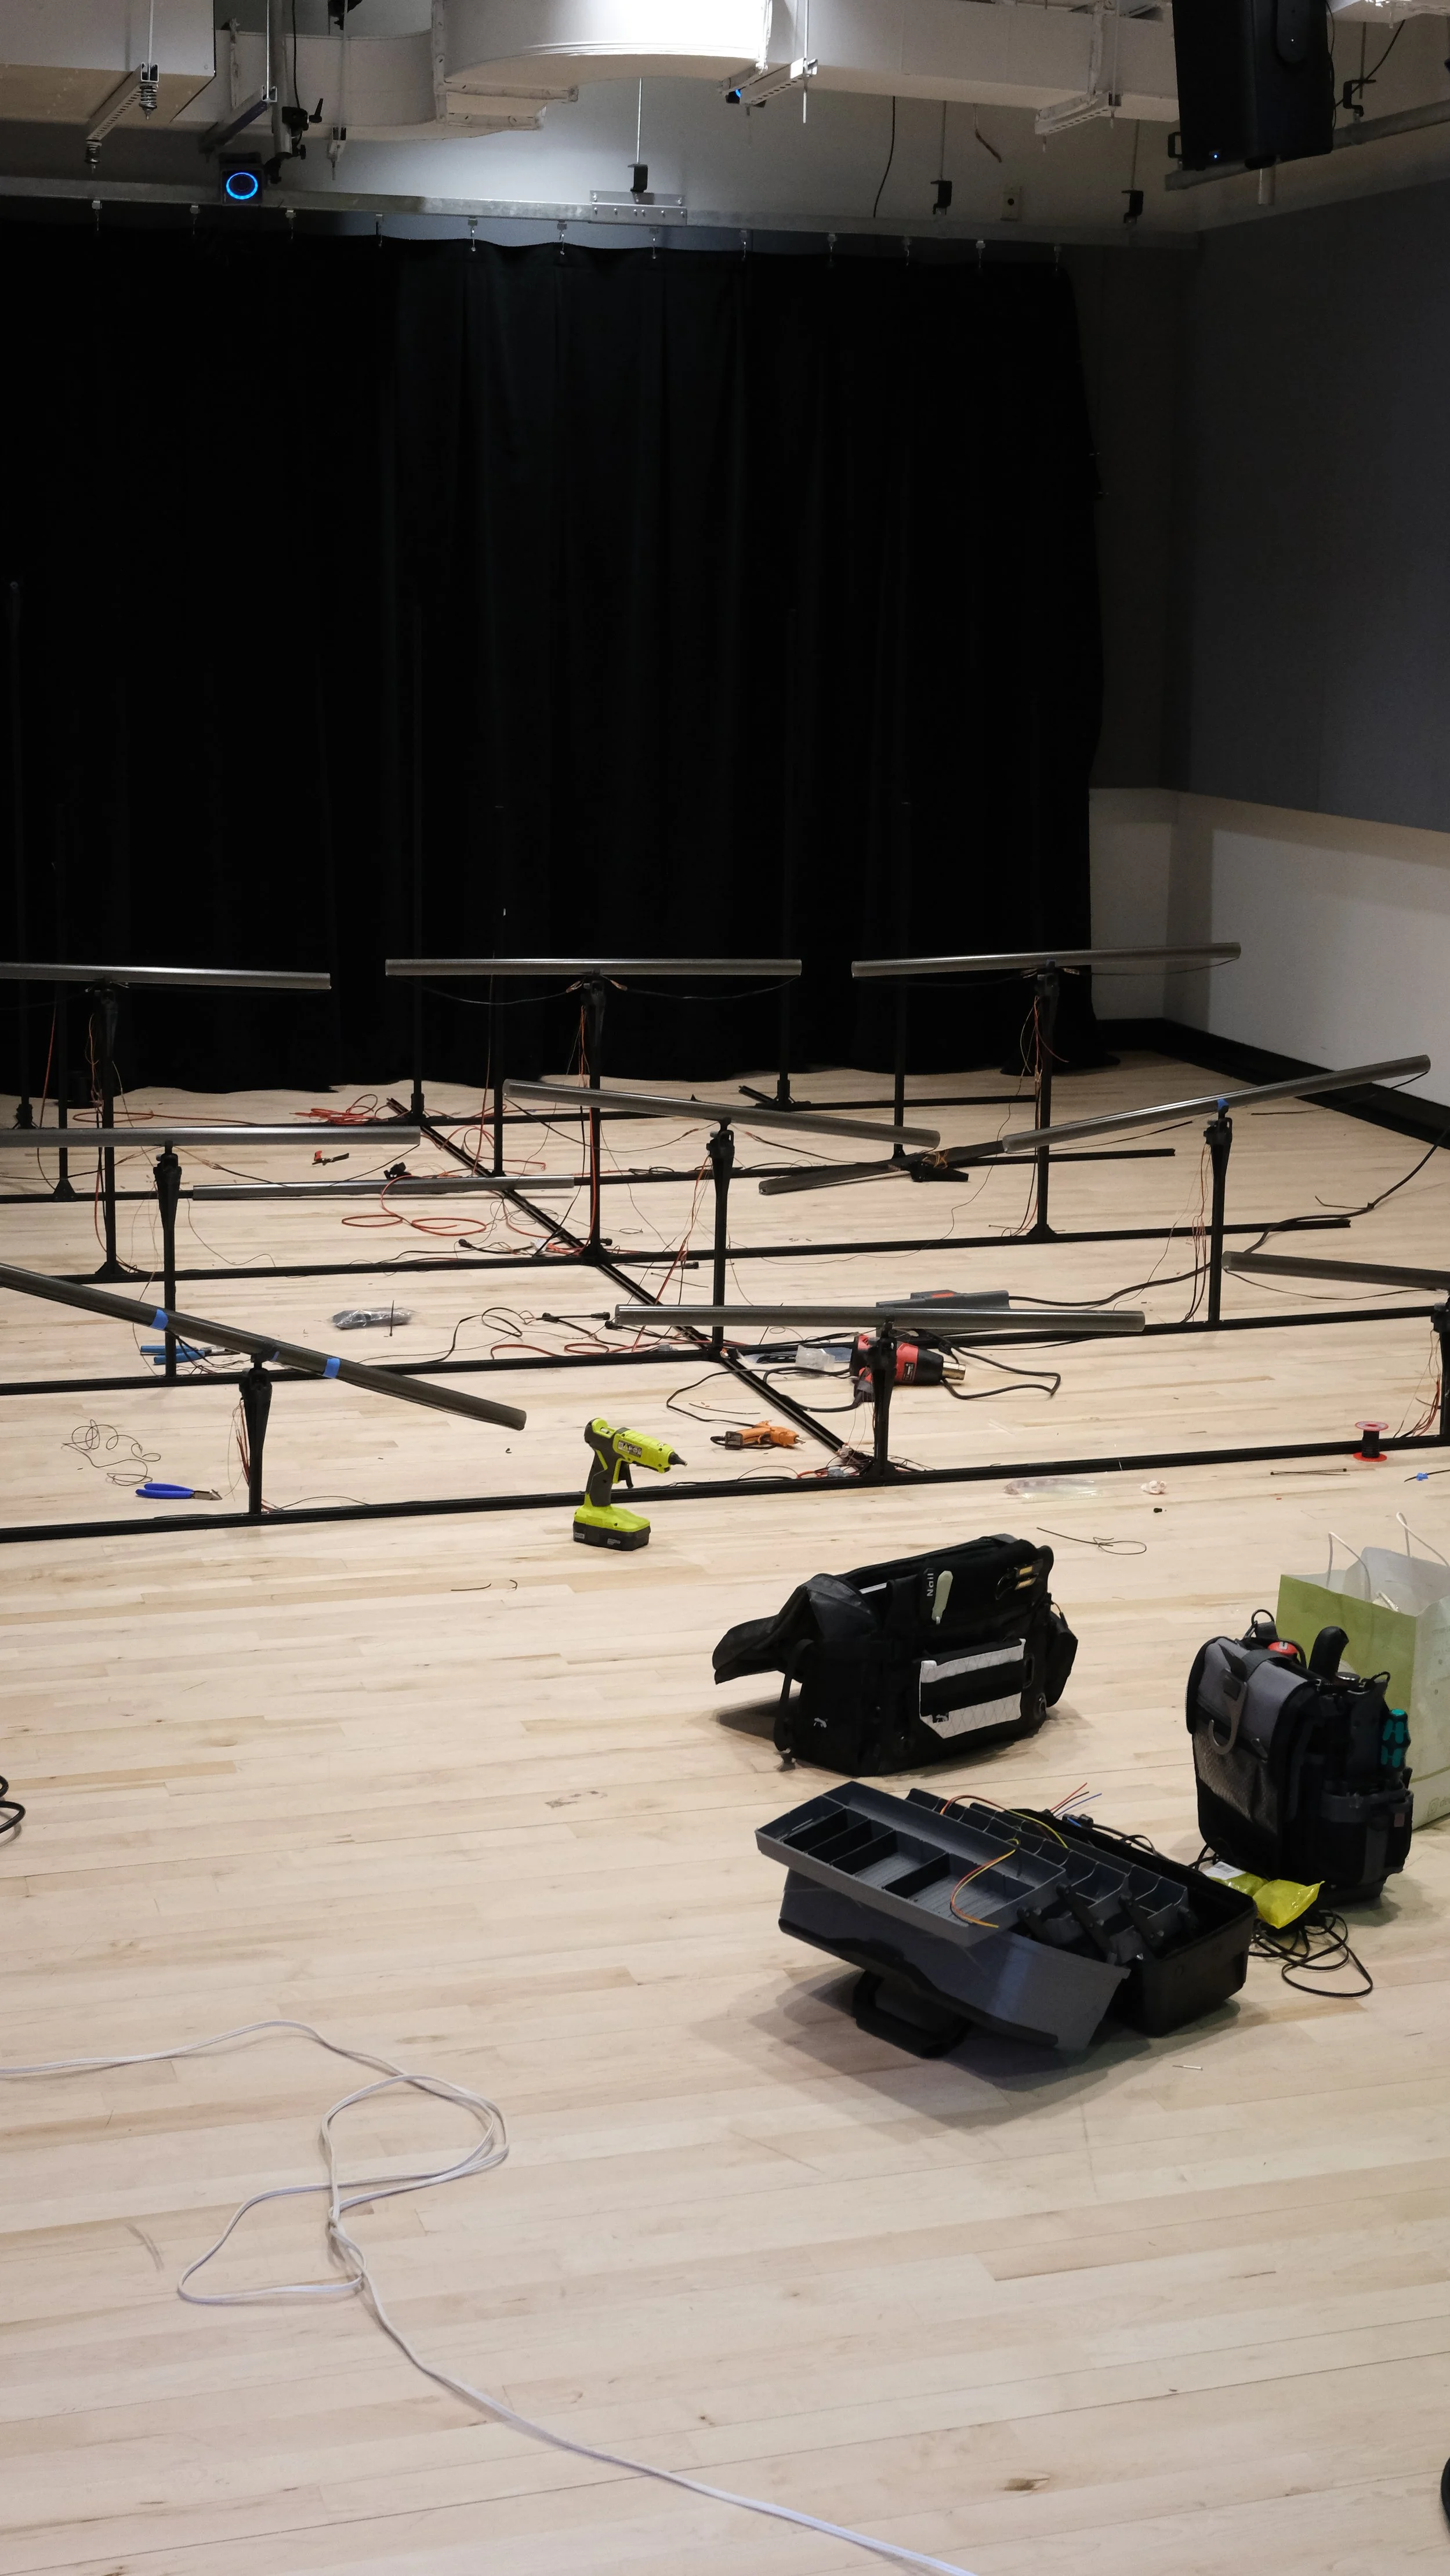
When our installation slot opened, we moved the structure into place. Each row stayed assembled with its verticals to save time — which is how we learned that carrying 4 m extrusions down a staircase is its own kind of pain.
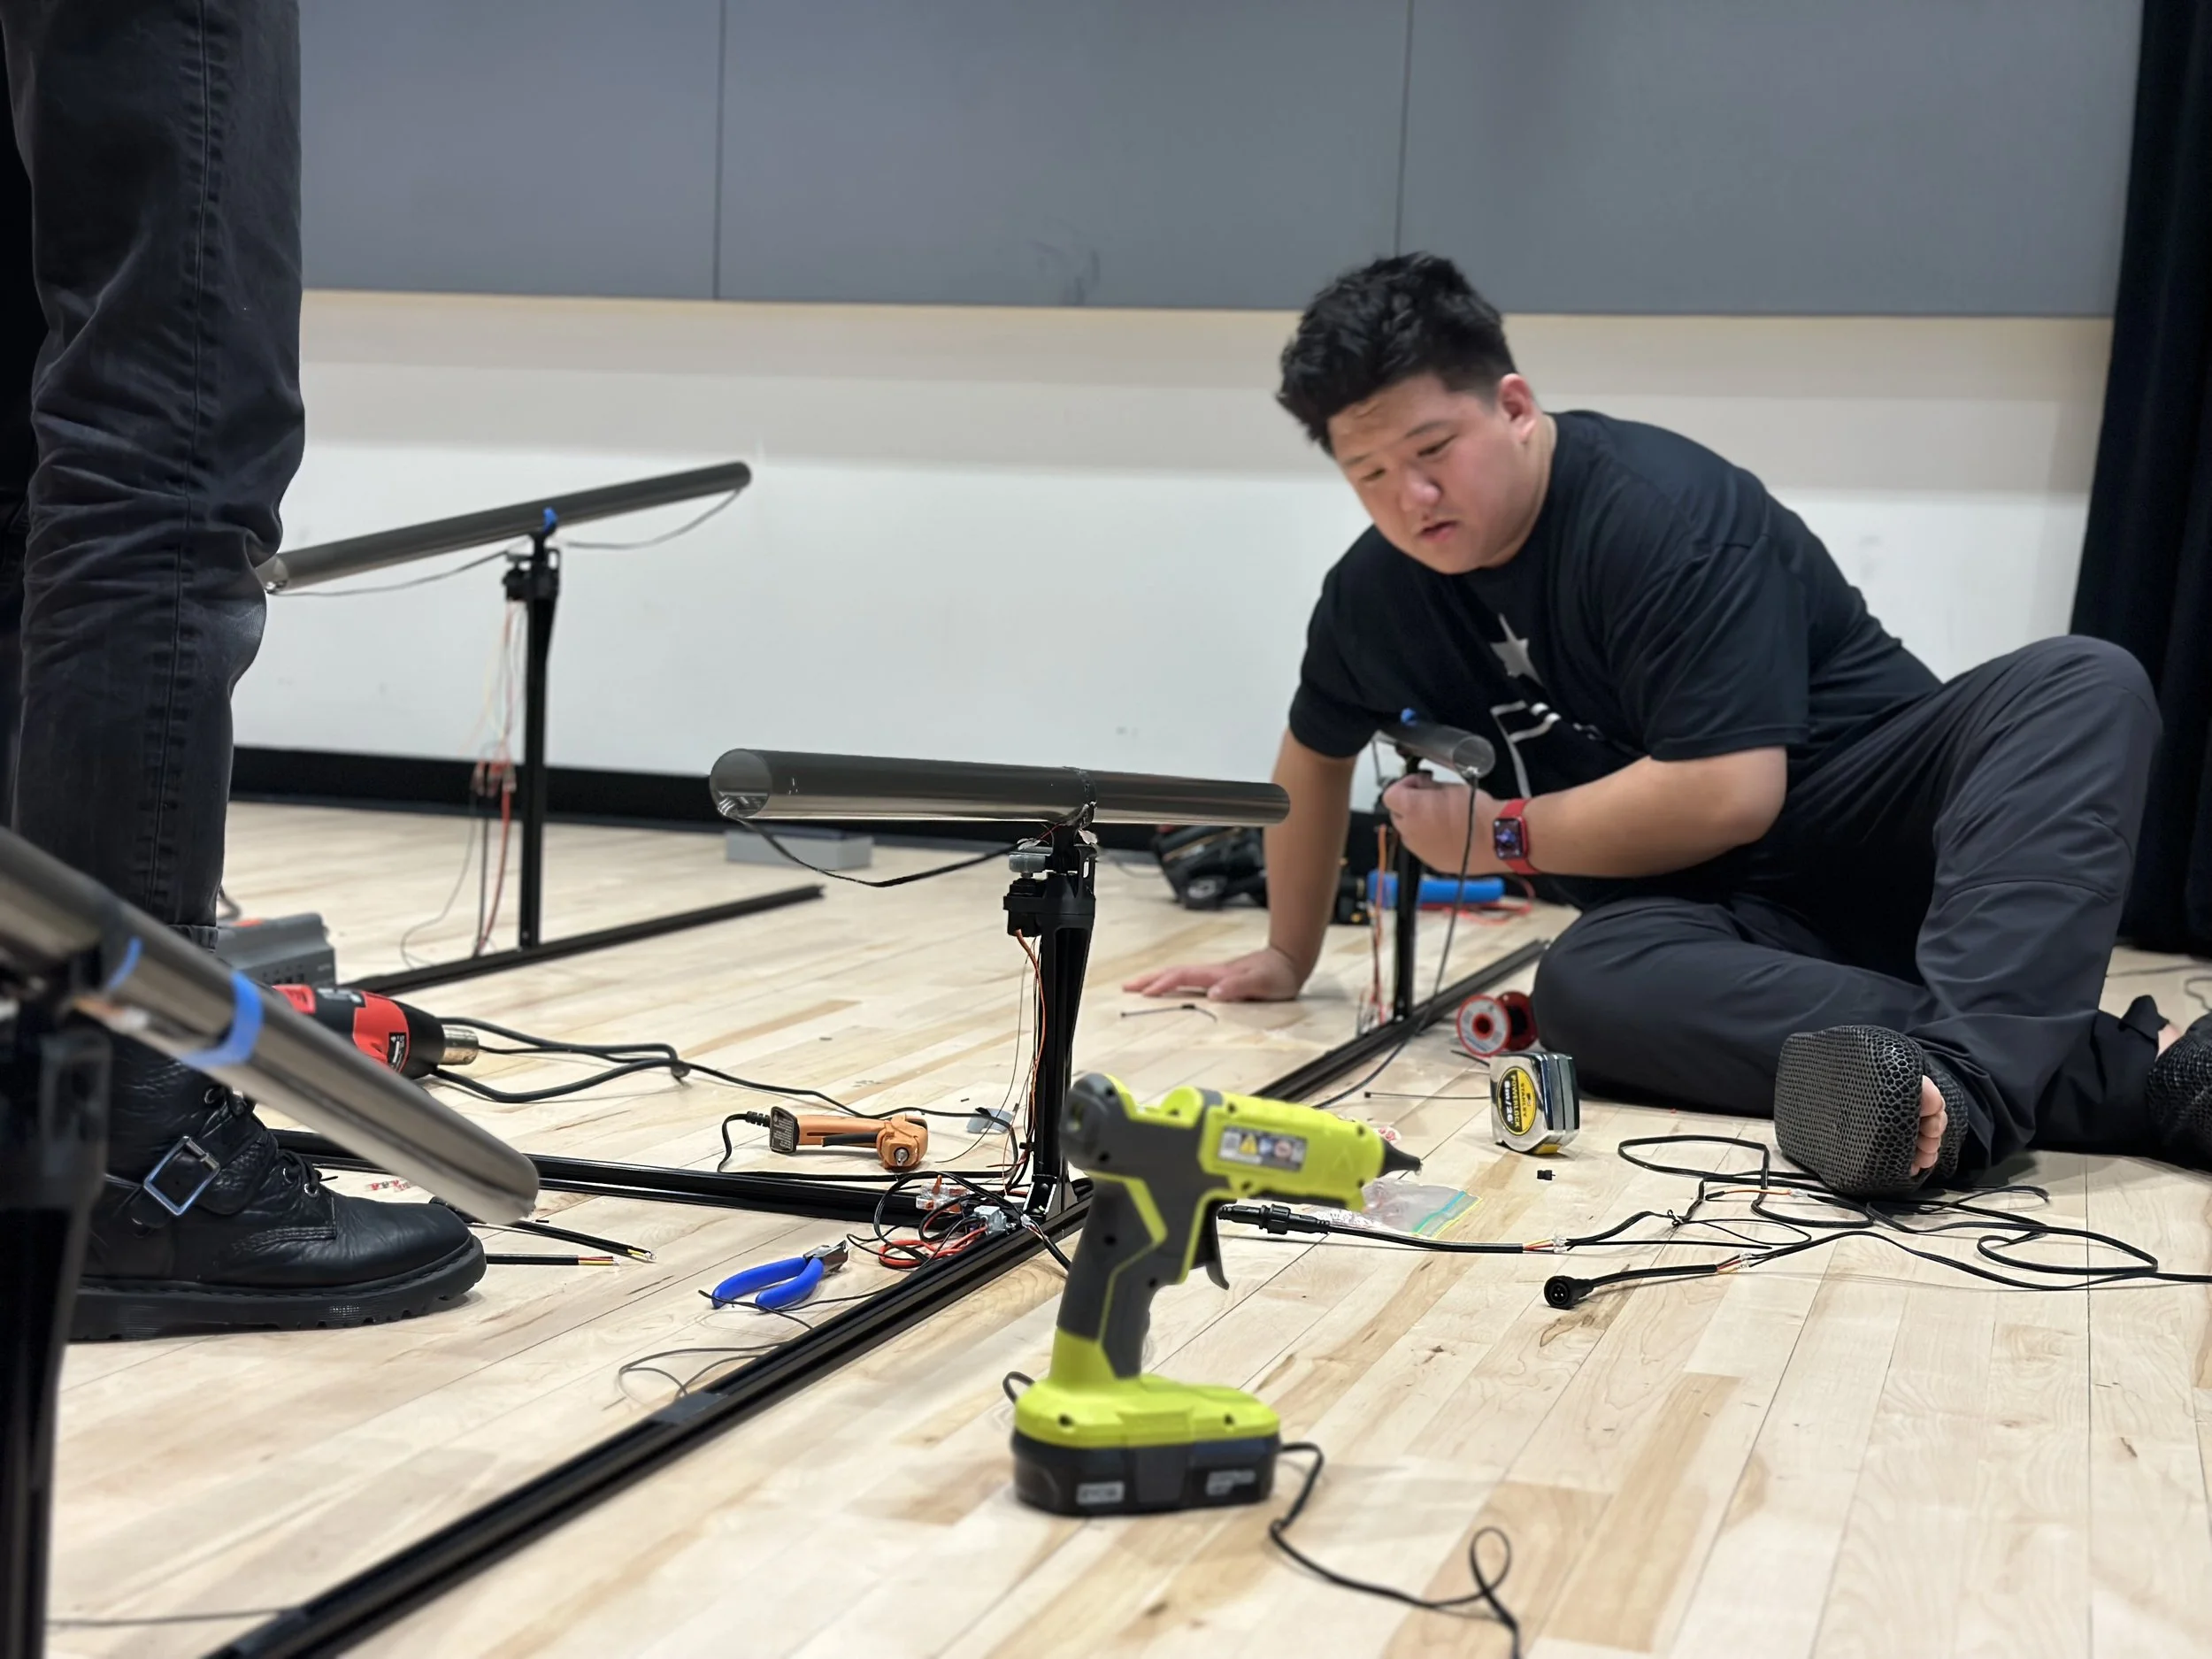
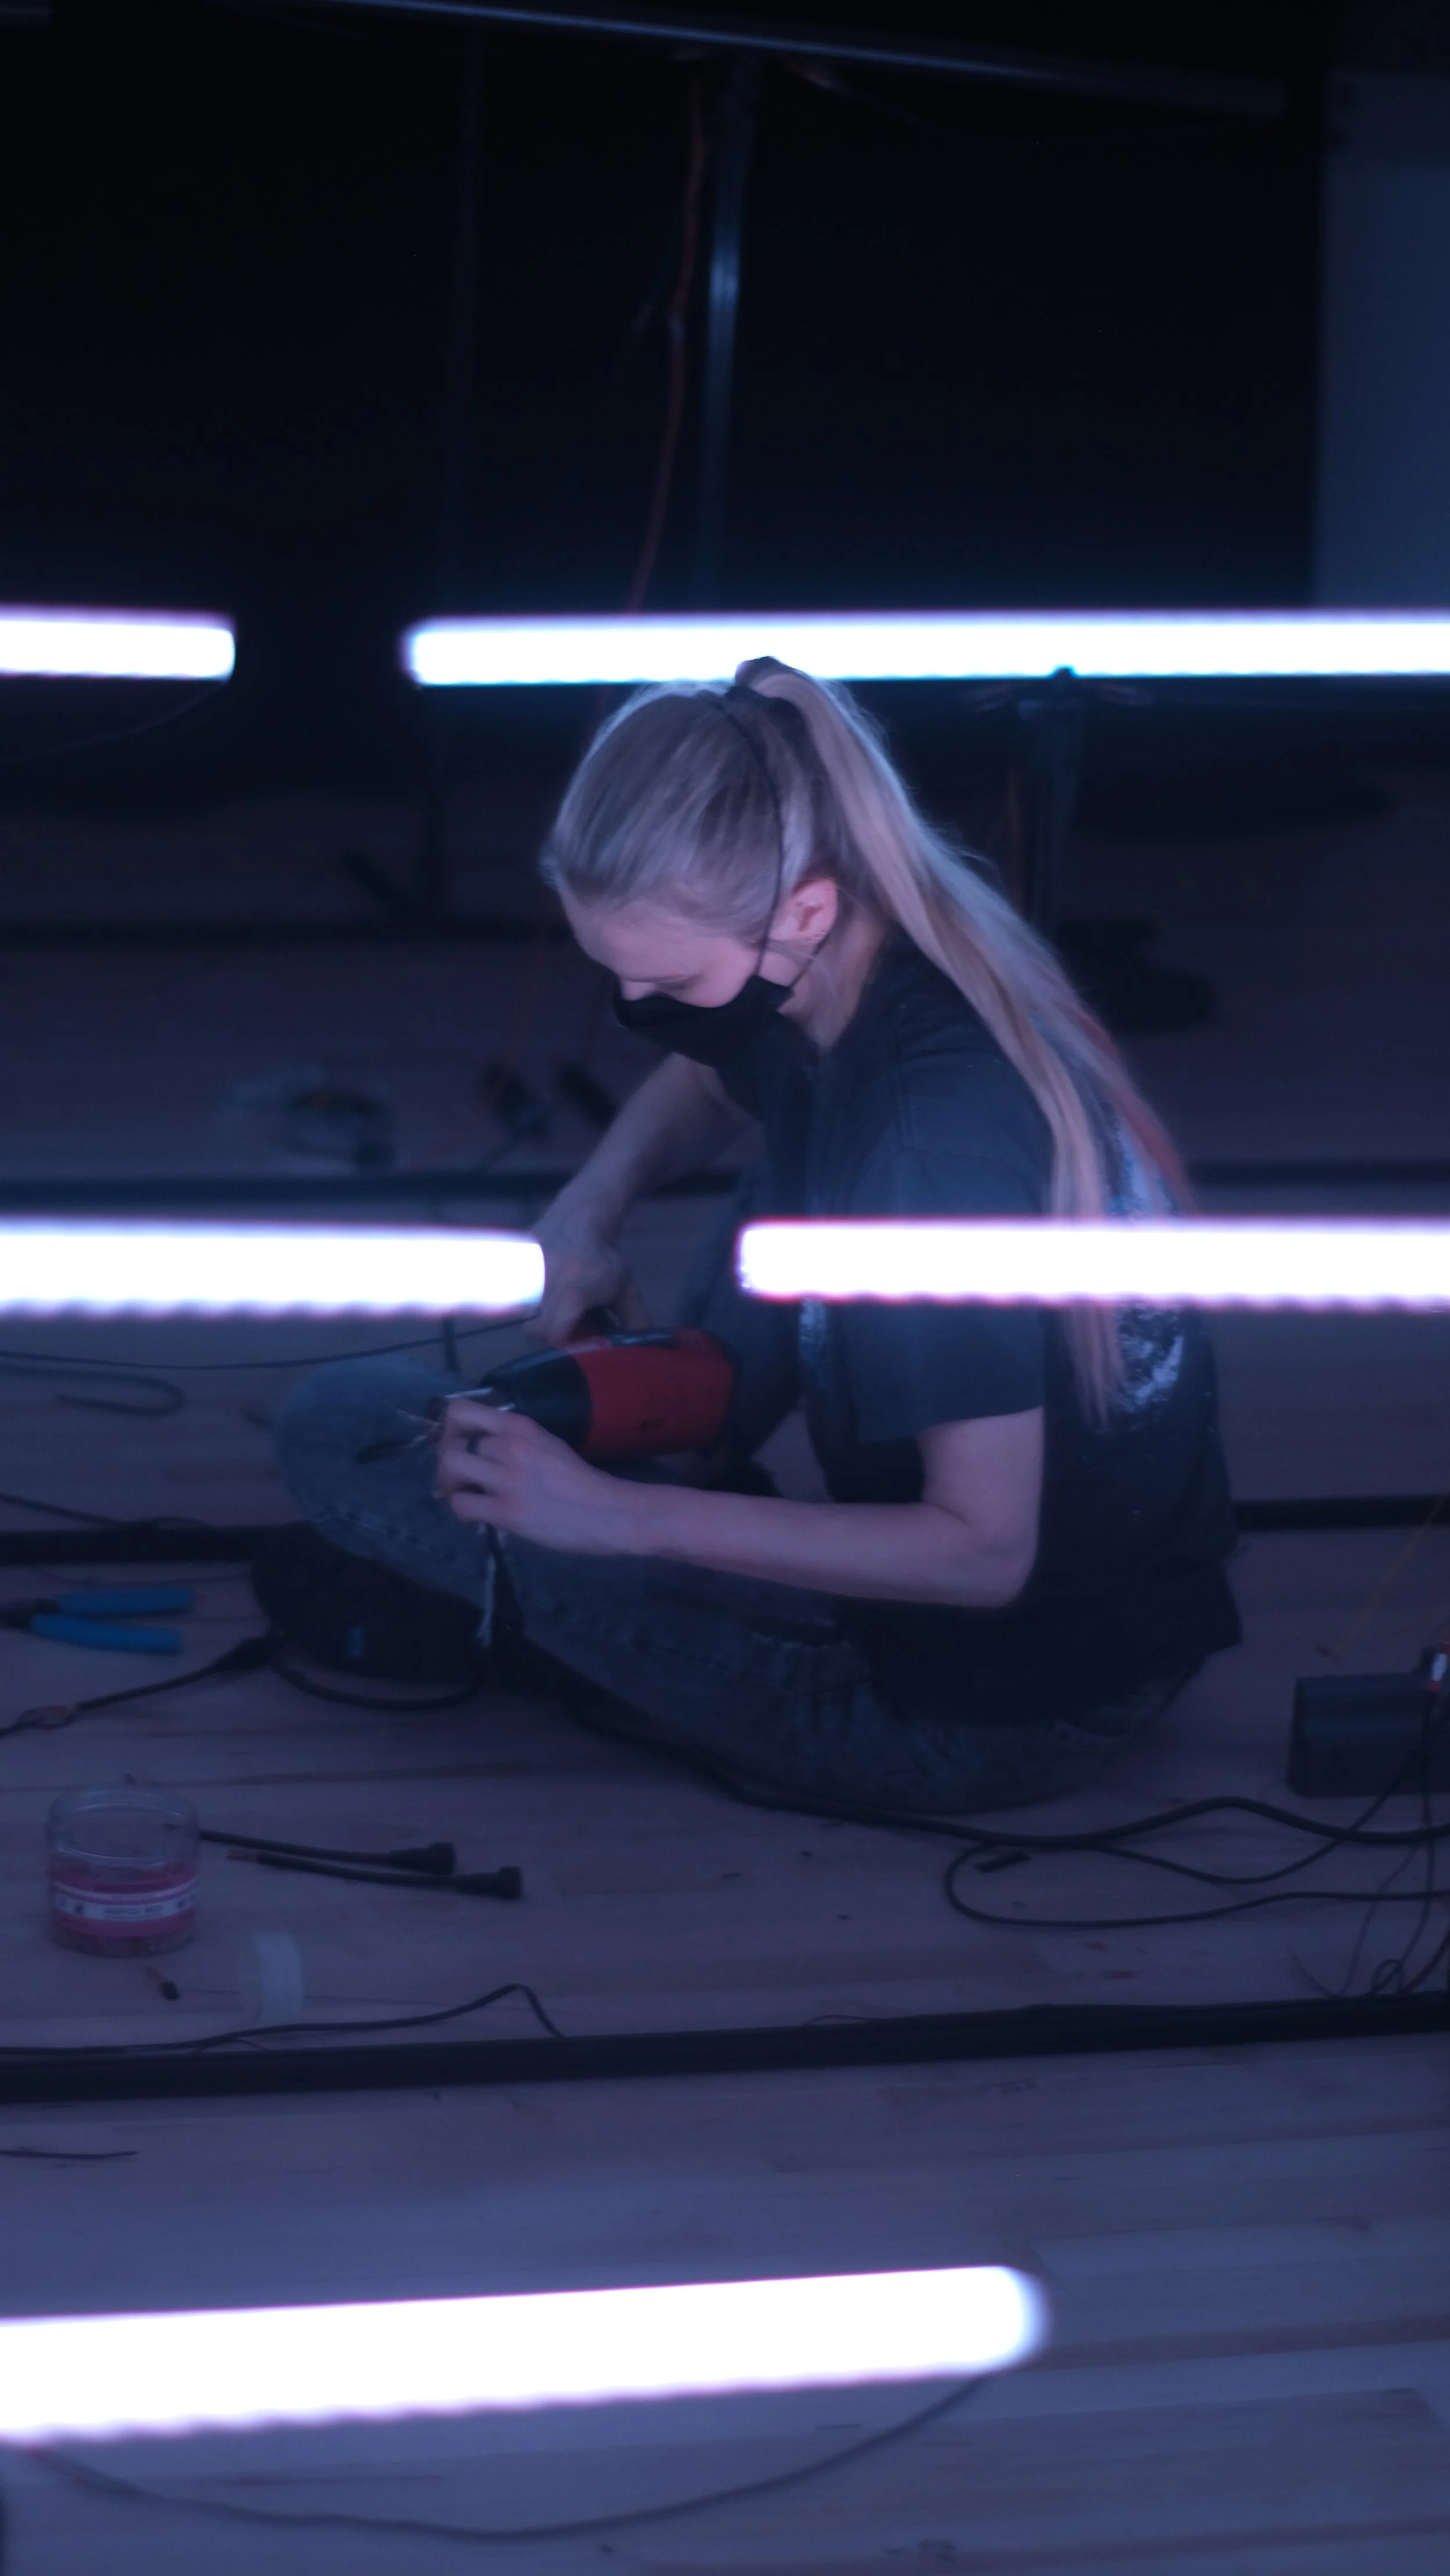
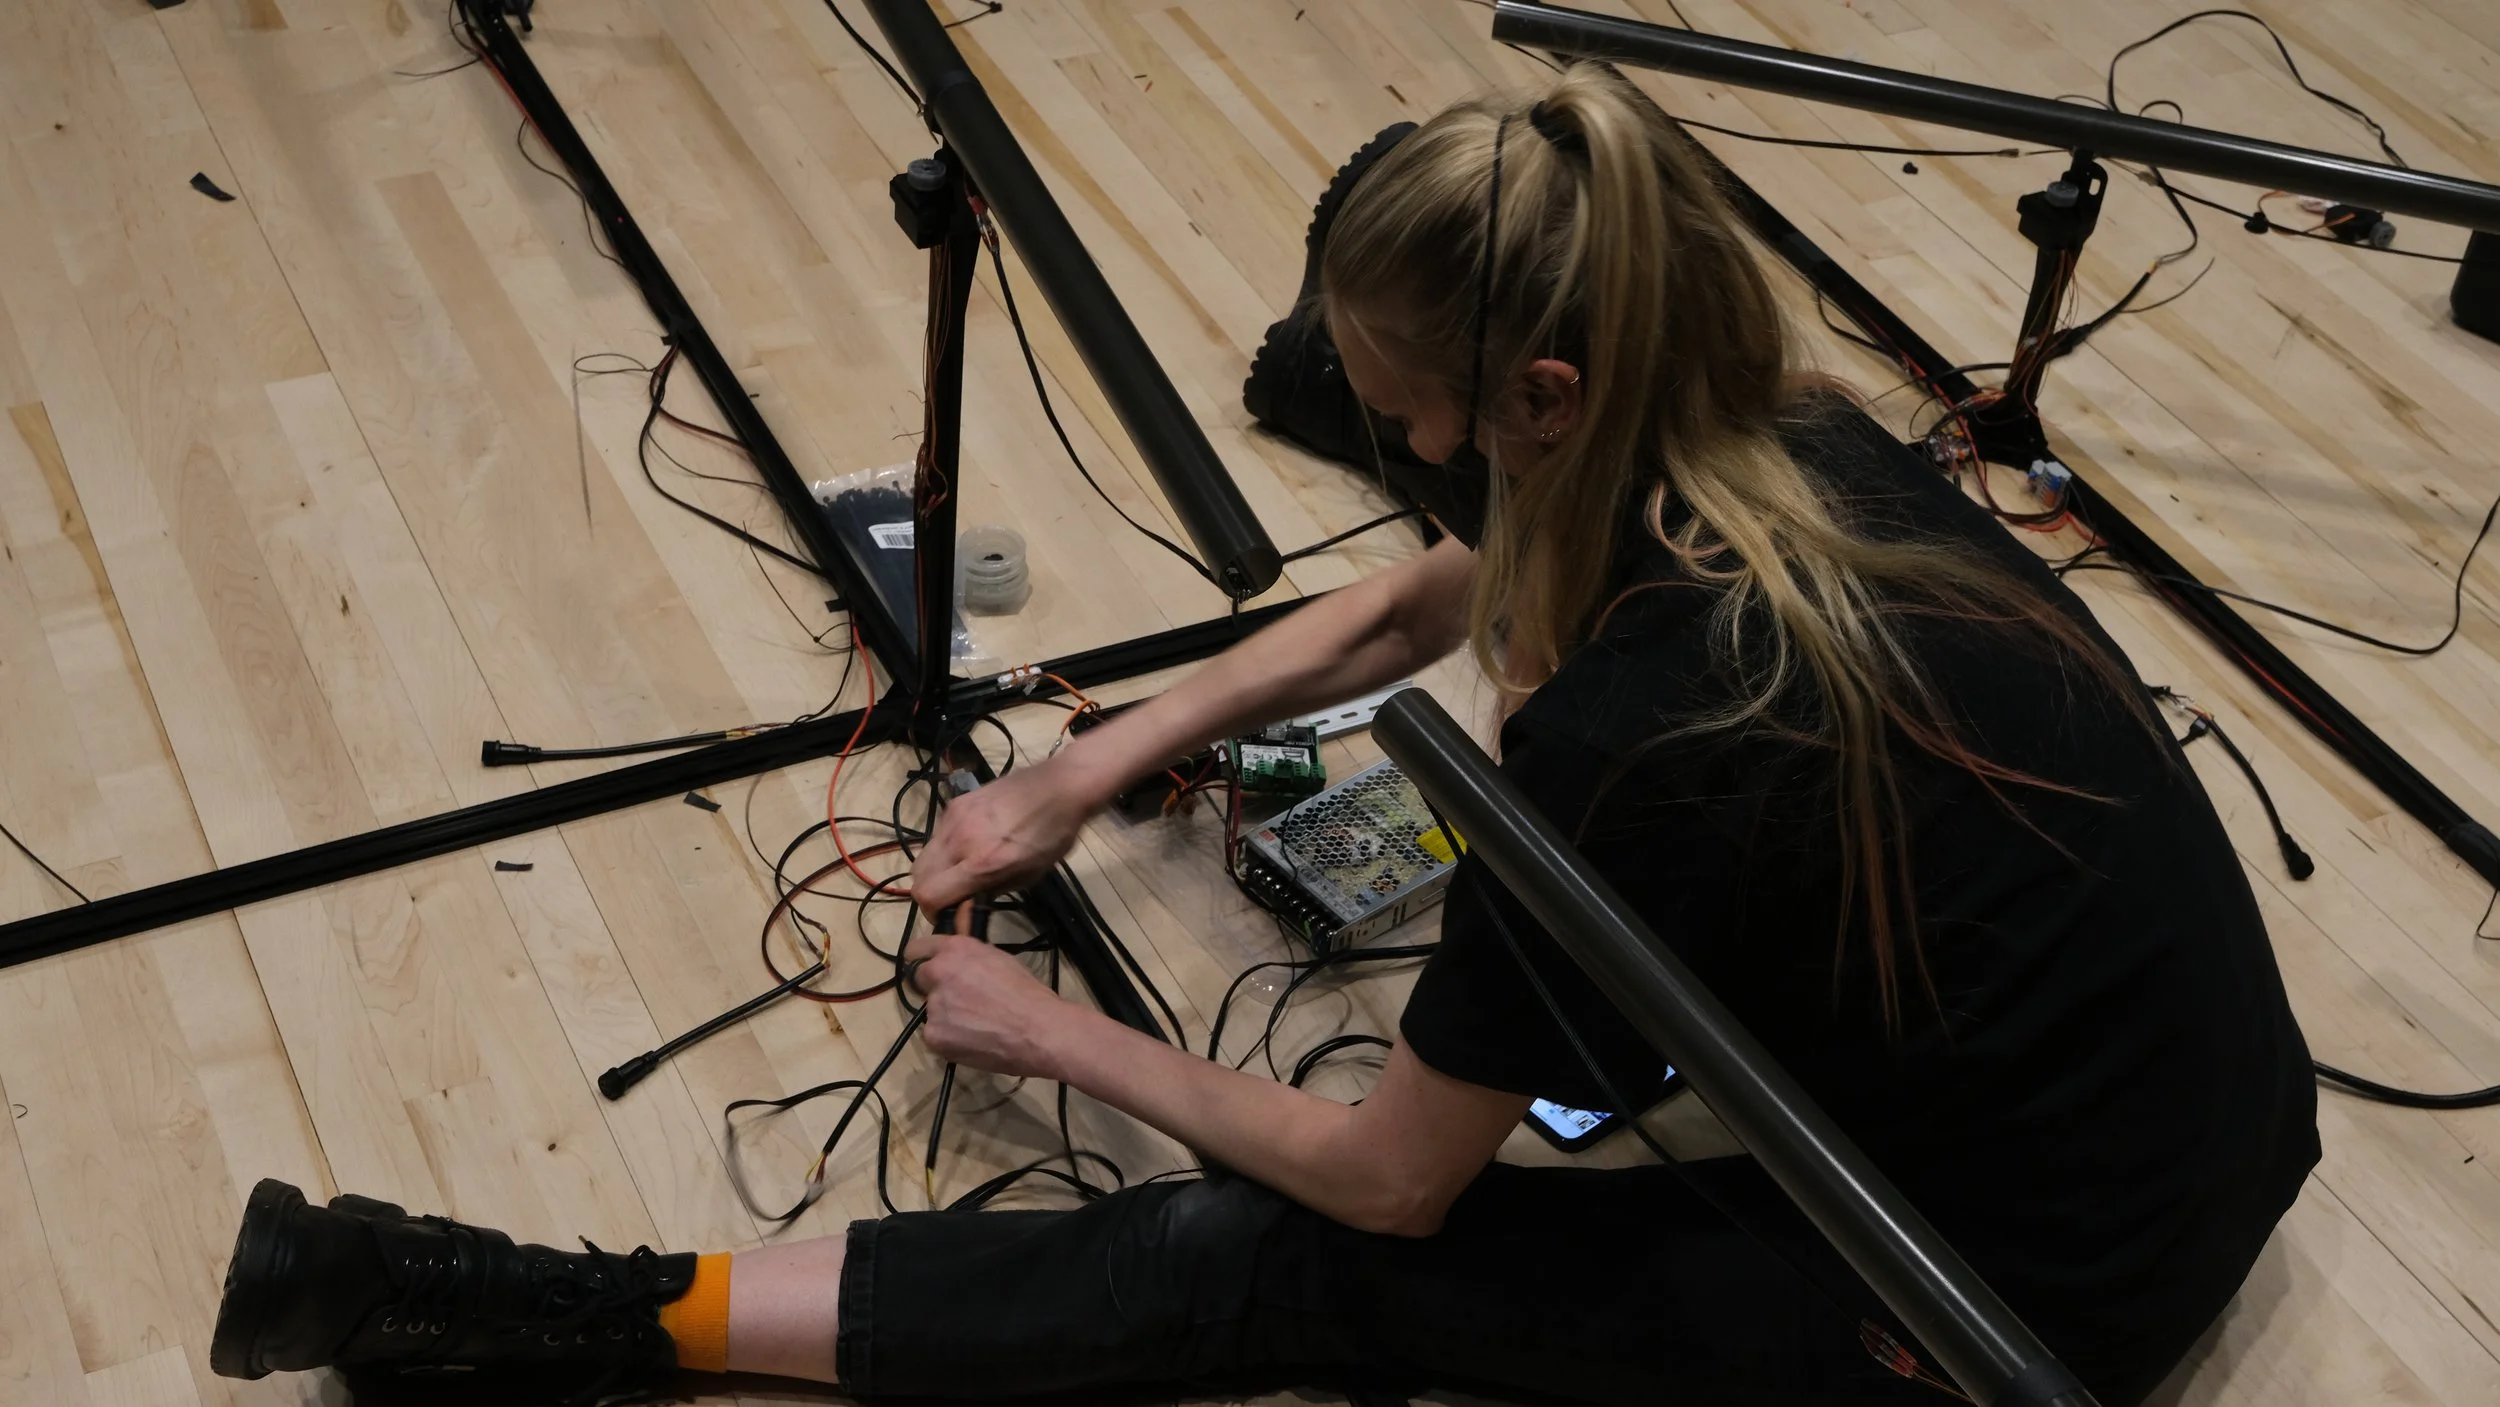
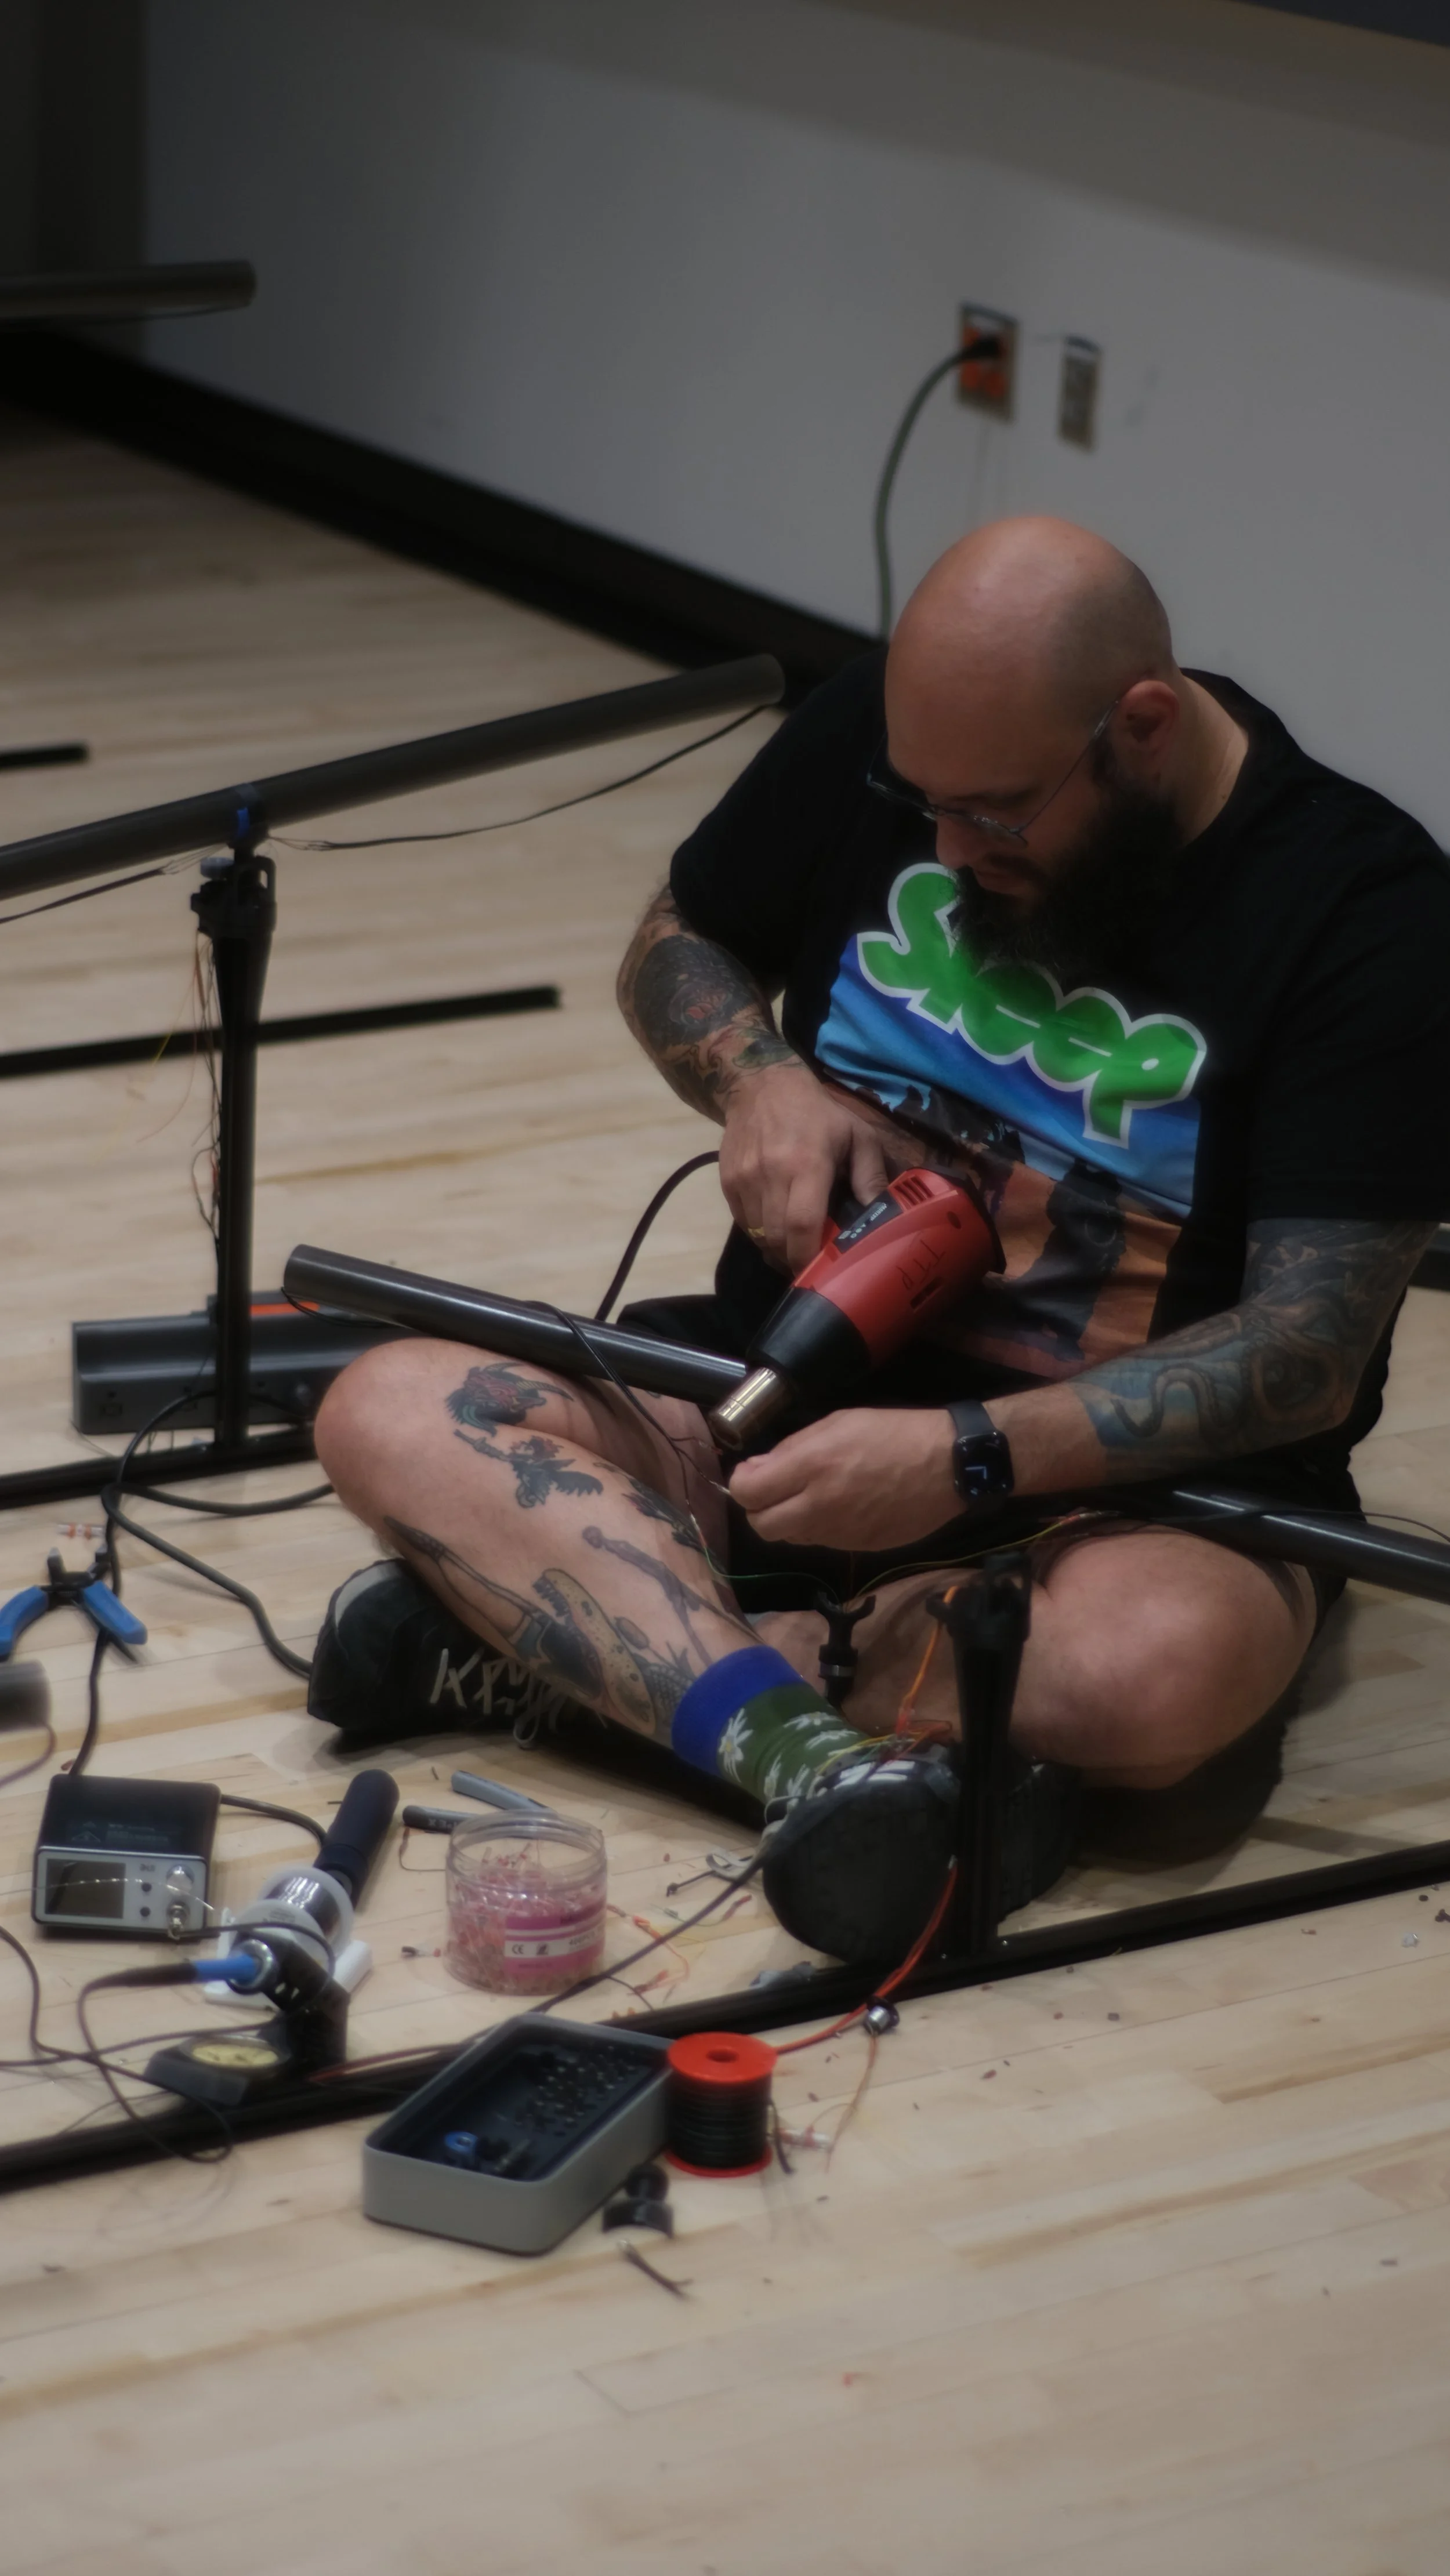
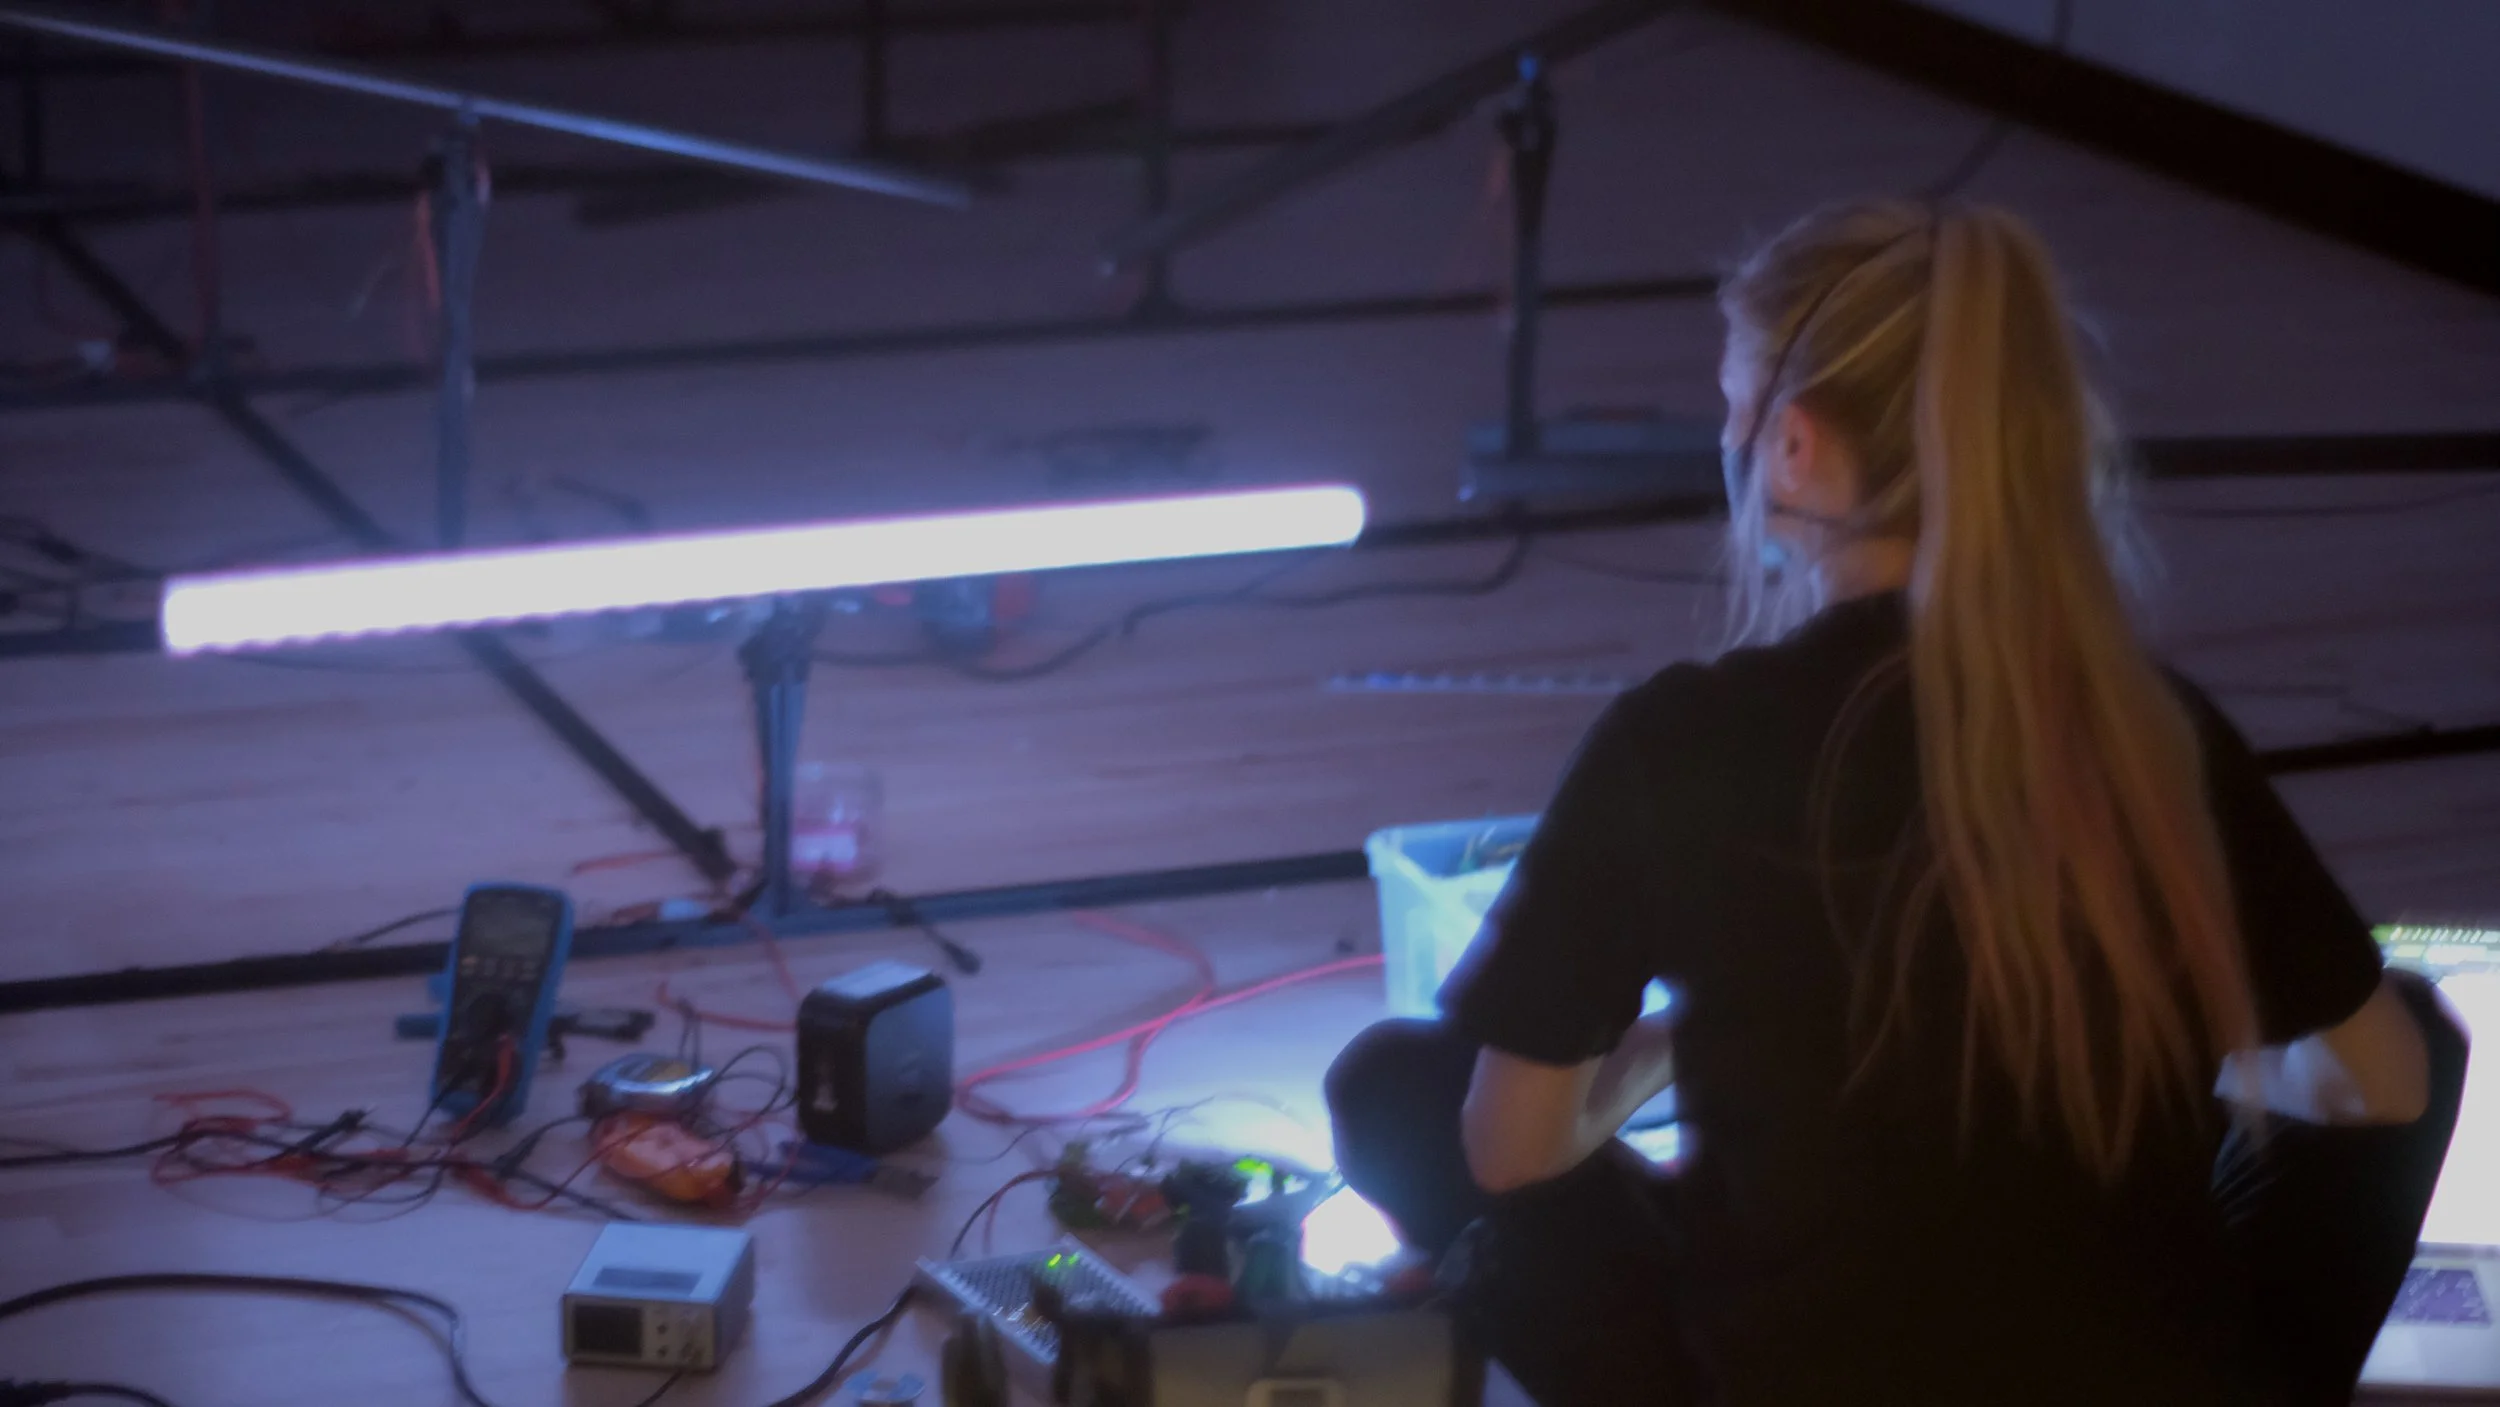
The assembly itself was intense; none of this work could be done beforehand.
Future Plan
Making this project was an education, and there is plenty I want to iterate. The plan is to reorganize and redesign every part and turn it into an open-source project. The improvements center on the PCB — a central topic in my work now, as the gateway to sharing an electronic object.
- Motor and slip ring: I’m studying the PCB motor, which uses printed coils as a BLDC stator. Combining it with a PCB slip ring could make the module far more compact and DIYable.
- Wiring: the current wiring is simply painful — 16 × (3 servo + 2 LED power) + 15 LED data wires, every one soldered and tested by hand. A small PCB wire hub per module, with standard cables for output, would end that.
- Controller: the DMX boxes we used are standard and fine, but a controller of my own design — or at least a DMX adapter — would make the piece more compatible and replicable.